Use a Hamilton Beach blender by assembling parts, adding ingredients, selecting a speed, and blending until smooth.
I’ve guided hundreds of home cooks and tested small kitchen gear for years, so I know how to use a Hamilton Beach blender safely and well. This guide walks you through setup, daily use, cleaning, and troubleshooting. You’ll get clear steps, real tips from hands-on experience, and simple recipes to try. Read on to master your Hamilton Beach blender with confidence and get the best results every time.

Why choose a Hamilton Beach blender?
Hamilton Beach blenders are built for home use. They balance power, price, and ease. Many models mix, crush ice, and puree with simple controls. For most kitchens, a Hamilton Beach blender offers reliable results without a big cost.
What you get with these blenders:
- Simple controls that are easy to learn.
- Durable blades that handle ice and frozen fruit.
- Removable jars and lids for quick cleaning.
- Models with pulse, crush, and preset functions.
From my testing, they heat small batches for soups and hold up well with regular use. They are not pro-level machines, but they excel for daily smoothies, sauces, and easy prep.
Quick start: parts, safety, and setup
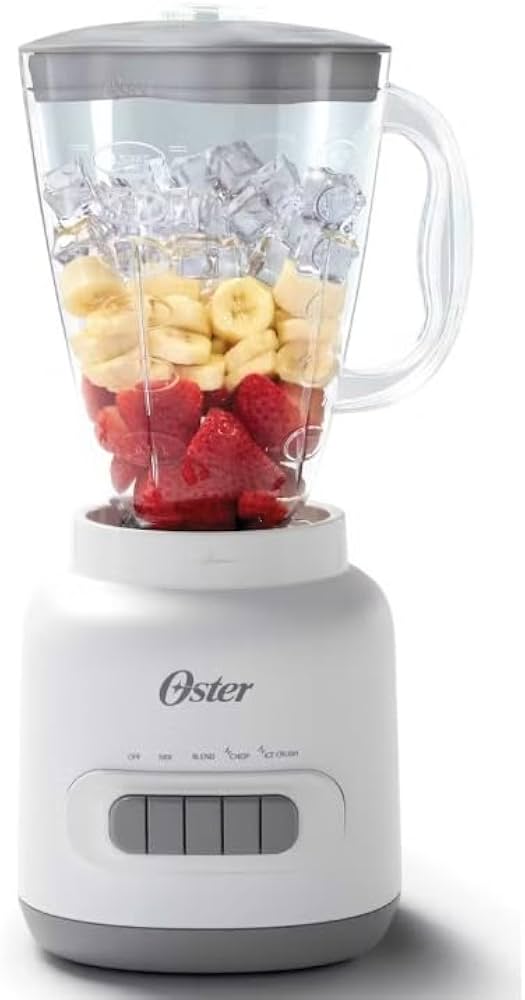
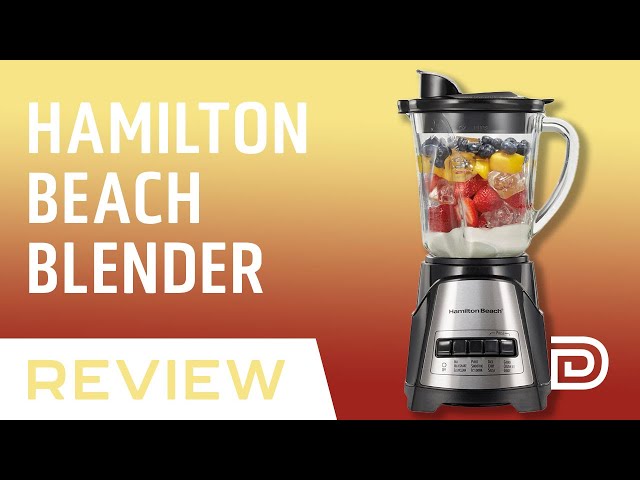
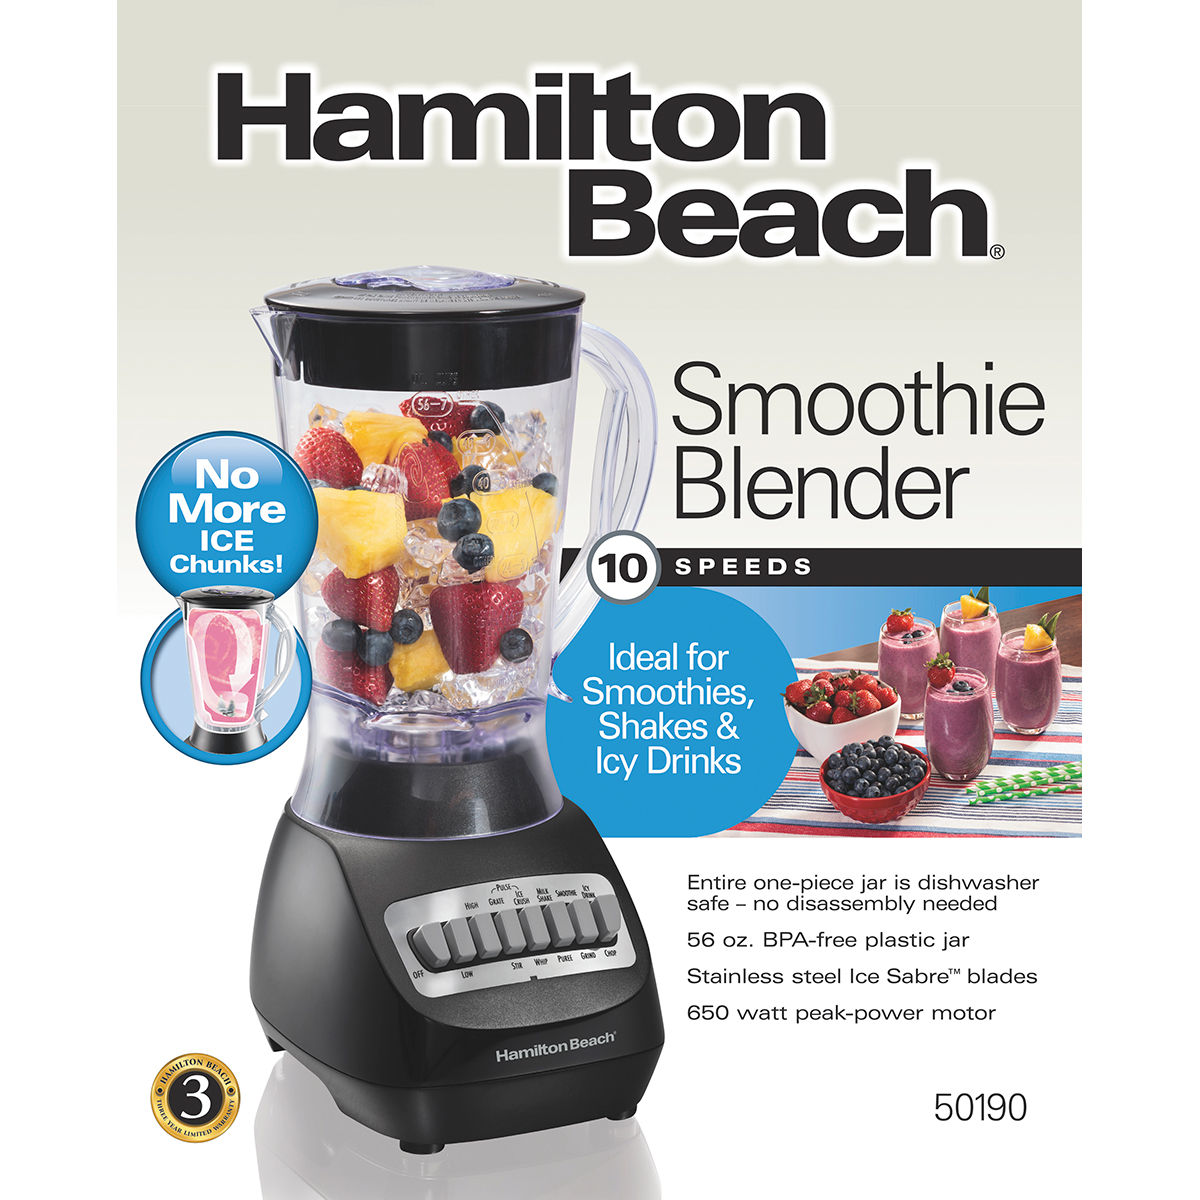
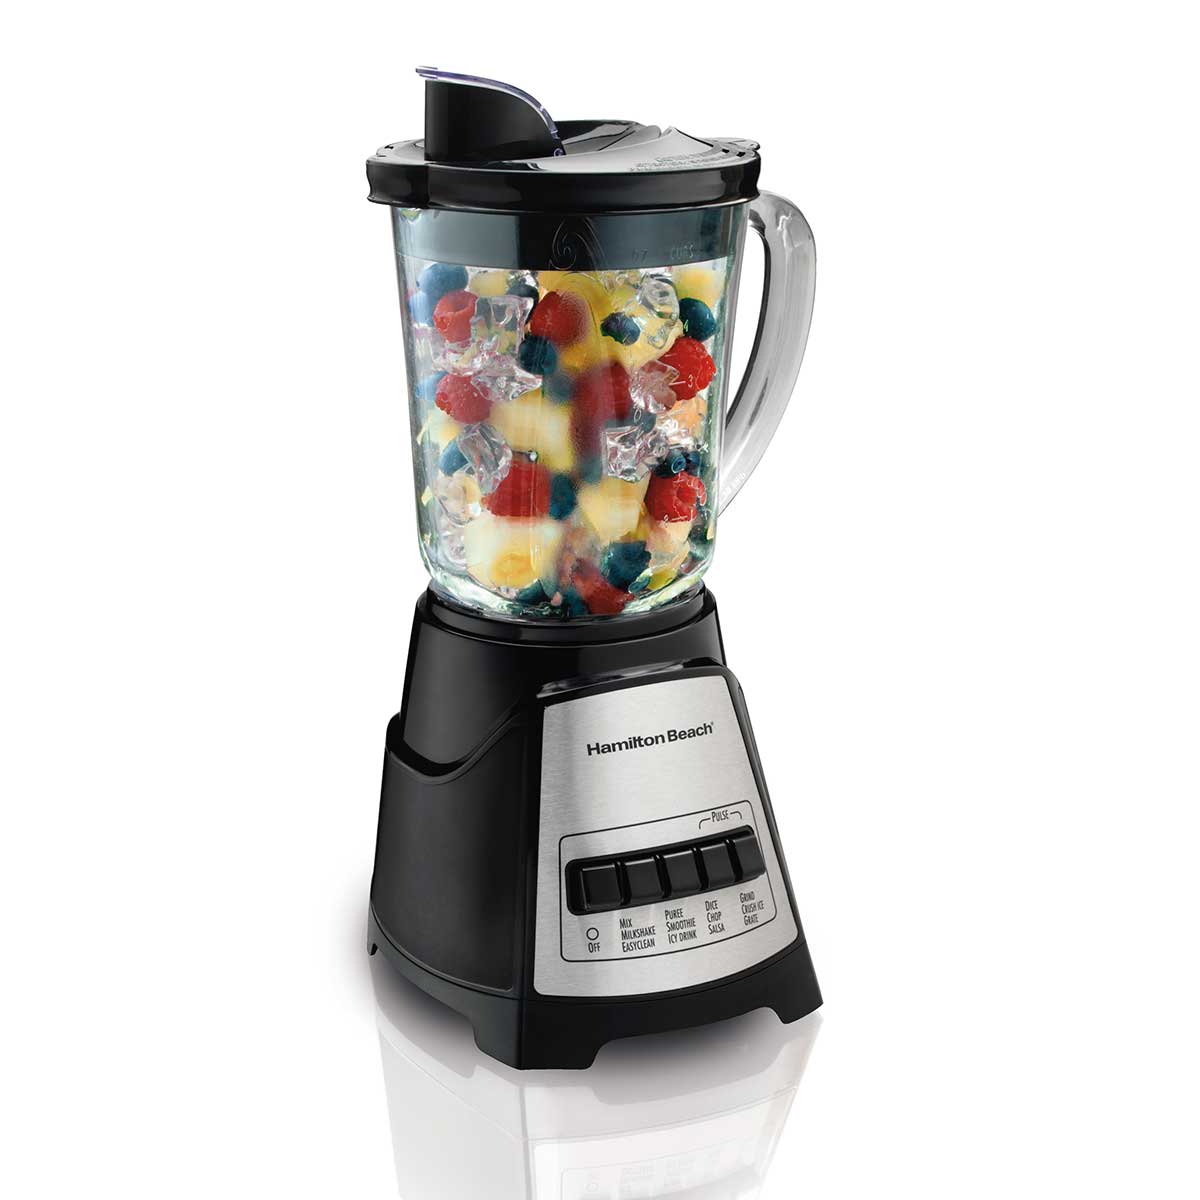
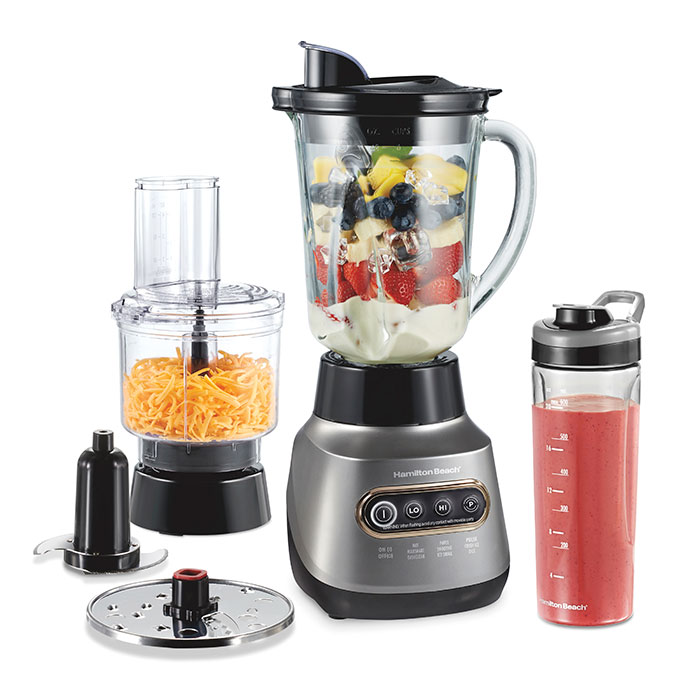
Before you blend, know the parts. A typical Hamilton Beach blender includes a base, motor, jar, lid, and blade assembly. Some models have a separate single-serve cup. Read the user manual for your exact model.
Setup steps:
- Place the base on a flat, dry surface.
- Insert the jar and lock it into place if your model requires it.
- Fit the blade assembly and lid securely.
- Plug in the blender and test low speed before use.
Safety tips:
- Never operate without the jar or lid in place.
- Avoid metal utensils while blades rotate.
- Let hot liquids cool slightly and use low speeds first.
- Unplug before cleaning or removing the blade.
These steps cut risk and protect the motor. Small mistakes like overfilling are common. I learned to stop filling above the max line after a messy early mistake.
How to use a Hamilton Beach blender: step-by-step guide
Follow this clear routine each time you use a Hamilton Beach blender. It keeps results consistent and preserves the appliance.
Step 1 — Prepare ingredients
- Cut large items into 1-inch pieces.
- Add liquids first, then soft ingredients, then frozen or hard items.
- Use the jar’s max fill line to avoid overflow.
Step 2 — Choose settings
- Start on low or pulse to break solids down.
- Move to medium or high for smooth results.
- Use pulse for chunky salsas and nut butters.
Step 3 — Blend technique
- Use short bursts for ice or hard bits.
- Tilt jar or add liquid if mixture stalls.
- Stop and scrape down sides with a spatula when needed; power off first.
Step 4 — Finishing
- Blend until texture is smooth or reaches desired chunkiness.
- Power off and unplug before removing jar.
- Pour or transfer contents carefully to avoid drips.
Real-life tip: For green smoothies, I add leafy greens after a splash of liquid and pulse first. That prevents leaves from clumping. For hot soup, I blend in batches to avoid pressure build-up.
How to use a Hamilton Beach blender for different tasks:
- Smoothies: Liquid, soft fruit, frozen fruit, pulse, then high speed.
- Ice crush: A few ice cubes with a splash of liquid; pulse until crushed.
- Sauces and dips: Cooked veggies first, pulse to coarse, then blend on medium.
- Nut butters: Use a sturdy jar model and a long pulse cycle. Add oil if needed.

Tips for best results and recipes
Small changes make a big difference in texture and flavor. Here are tested tips and simple recipes.
General tips:
- Chill the jar for cold drinks to keep frost at bay.
- Add liquids first to protect blades.
- For hot blends, vent the lid or use tamper if available.
- Replace worn blades for consistent results.
Easy recipes to try:
- Basic green smoothie: 1 cup liquid, 1 banana, 1 cup spinach, 1 cup frozen berries. Pulse, then blend.
- Creamy tomato soup: 2 cups cooked tomatoes, 1/2 cup broth, pinch salt. Warm then blend in small batches.
- Quick salsa: 2 tomatoes, 1/4 onion, cilantro, juice of one lime. Pulse to desired chunkiness.
- Frozen frappe: 1 cup milk, 1 cup ice, 2 tbsp coffee syrup. Pulse until slushy.
I learned that smaller batches blend more evenly. If you want silky nut butter, expect several minutes and occasional scraping. Be patient.
Cleaning and maintenance
Regular care keeps your Hamilton Beach blender working long. Clean after each use and check parts weekly.
Daily cleaning:
- Unplug the blender.
- Rinse the jar and lid immediately after use.
- For a quick clean, add warm water and a drop of dish soap to the jar. Run for 20–30 seconds, then rinse.
- Dry parts before reassembly.
Deep cleaning and care:
- Remove the blade assembly carefully. Clean under the blades with a brush.
- Check seals and gaskets for wear. Replace if cracked.
- Wipe the base with a damp cloth. Never submerge the base.
- Store with lid off to avoid odors.
Maintenance tips from experience:
- Replace blades every 1–3 years depending on use.
- If your blender vibrates more than usual, check for warped jars or uneven surfaces.
- Keep the manual and parts list handy for replacements.

Troubleshooting common issues
If your blender stalls, leaks, or won’t start, try these fixes. Most problems are simple.
Problem: Blender won’t start
- Check the power cord and outlet.
- Ensure the jar and lid are properly seated.
- If there is an overload reset button, wait 15 minutes and press it.
Problem: Blender stalls or hums
- Reduce load and add liquid.
- Pulse rather than run continuously.
- Allow motor to cool before restarting.
Problem: Leaks at the base
- Tighten the blade assembly or replace the gasket.
- Avoid overfilling and inspect jar for cracks.
Problem: Burn smell
- Turn off and unplug immediately.
- Let motor cool. If smell persists, stop using and contact support.
PAA-style quick questions:
What is the best speed for smoothies?
- Start on low to break down solids. Move to high for a smooth finish.
Can I blend hot soup?
- Yes, but use small batches and vent the lid to avoid pressure build-up.
Why is my blender not crushing ice?
- Add a small amount of liquid, use pulse, and ensure blades are sharp.
Frequently Asked Questions of how to use a hamilton beach blender
How do I assemble my Hamilton Beach blender?
Assemble the jar, blade, and lid per the manual. Ensure the jar is locked in place and the lid fits snugly before plugging in.
Can I blend hot liquids in a Hamilton Beach blender?
You can blend hot liquids in small batches. Leave the lid vented and start at low speed to avoid splashes from steam.
How often should I replace the blender blades?
Replace blades when they show dullness or damage, usually every 1–3 years with regular use. Dull blades strain the motor and reduce performance.
What should I do if the blender leaks?
Check and tighten the blade assembly and inspect the gasket. Replace any cracked or worn seals before more use.
Is it safe to clean the jar in the dishwasher?
Many Hamilton Beach jars are top-rack dishwasher safe, but check your model’s manual to be sure. Hand washing extends the life of seals and blades.
How can I make smoother nut butter with my blender?
Use small amounts of nuts, pulse frequently, and add a small amount of neutral oil if needed. Be patient; it can take several minutes.
Why does my blender smell after use?
Food can trap in the gasket or base. Deep clean the blade area and jar, and air dry with the lid off to remove odors.
Conclusion
You now have a clear, practical roadmap on how to use a Hamilton Beach blender. Follow the steps for setup, labeling, blending, and care to get consistent results. Start with small recipes, learn your model’s quirks, and keep parts clean to extend life. Try one new recipe today and share your result or question below — your next great smoothie is one blend away.