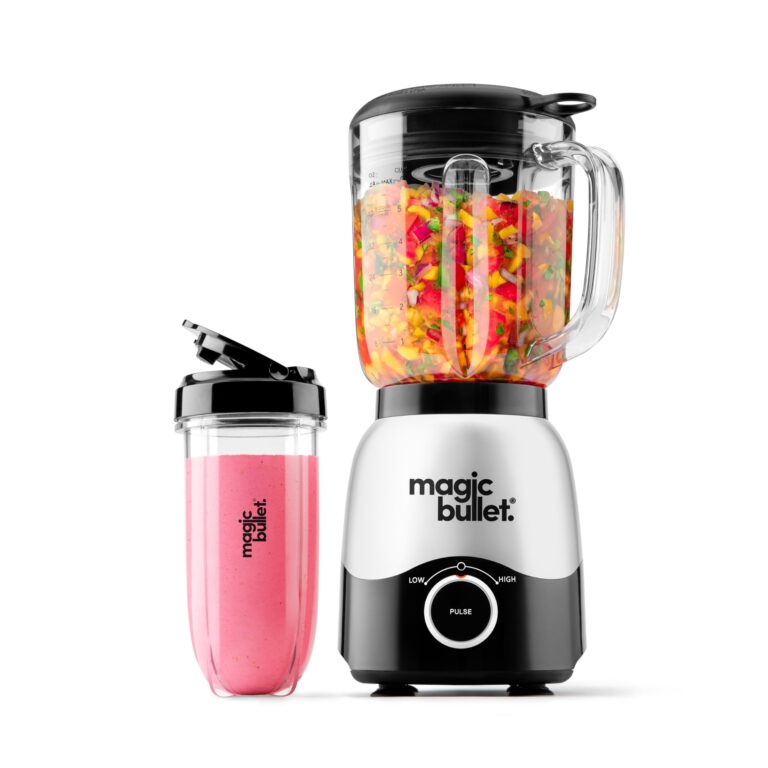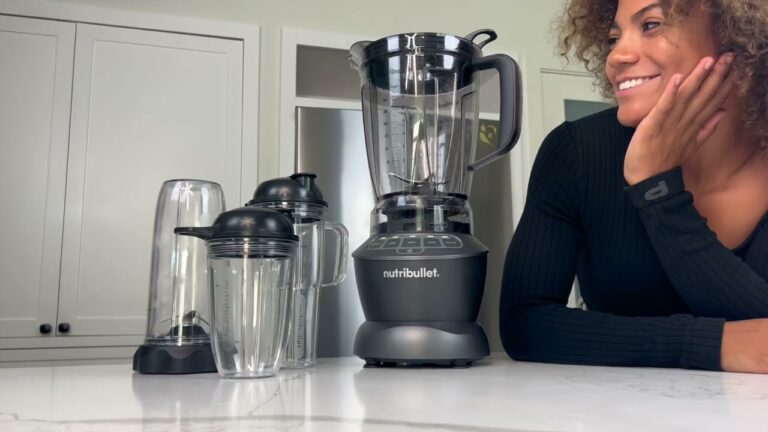
Assemble the base, jar, blade assembly, gasket, lid, and plug in the power cord before using.
I’ve assembled dozens of blenders in kitchens and test labs, so I’ll walk you through how to put a blender together step by step. This guide explains each part, safe assembly, common mistakes, and pro tips so you can put your blender together quickly and confidently. Read on to learn clear, practical steps for how to put a blender together and get blending fast.
Why knowing how to put a blender together matters
Learning how to put a blender together helps you avoid leaks, damage, and safety risks. A correctly assembled blender performs better and lasts longer. Whether you bought a new unit or reassembled one after cleaning, understanding how to put a blender together saves time and prevents surprises.

Parts of a blender: what you need to know
Knowing each part makes assembly easier. Here are the core components you’ll meet when learning how to put a blender together.
- Base
- Houses the motor, power switch, and safety interlocks.
- Jar (pitcher)
- Often glass or plastic; holds ingredients.
- Blade assembly
- Removable blades that fit into the jar bottom.
- Gasket (seal)
- A rubber or silicone ring that prevents leaks.
- Jar collar or retaining ring
- Screws onto the jar to hold the blade and gasket.
- Lid and lid cap
- Lid seals the jar; cap allows adding ingredients while blending.
- Drive socket or coupling
- Connects the motor shaft in the base to the blade assembly.
- Power cord and controls
- Power source and speed settings.
Understanding these parts makes it clear why correct order matters when you put a blender together. Each piece must align for a safe seal and efficient motor engagement.

Step-by-step assembly guide
Follow these clear steps to learn how to put a blender together. Read each step and check parts before you start.
- Inspect parts
- Place base on a stable, flat surface.
- Check jar, blade, gasket, and lid for cracks or wear.
- Fit the gasket
- Place the gasket on the blade assembly so it sits flat and even.
- Attach the blades to the jar
- Insert the blade assembly into the jar base from the inside if designed that way.
- Ensure blades align with the jar’s bottom opening.
- Secure the retaining ring or collar
- Screw the collar onto the jar bottom until snug. Hand-tighten only.
- Test the drive socket
- Check the base’s drive socket for debris.
- Ensure the jar’s coupling fits over the drive socket smoothly.
- Place the jar onto the base
- Align the jar with the base coupling.
- Lower and twist slightly if the model uses a twist-lock. For push-fit models, press firmly until seated.
- Add the lid and cap
- Place the lid squarely on the jar and press down.
- Insert the lid cap if needed; keep it closed while blending.
- Plug in and test briefly
1. Plug in the power cord.- Start on low speed and listen for unusual sounds. Stop if something sounds wrong.
When you first learn how to put a blender together, go slow. Proper alignment and hand-tightening avoid stripped threads and leaks.

Safety checks and tips before first use
Always run quick checks after you put a blender together.
- Verify gasket placement
- A misplaced gasket causes leaks and can damage the motor.
- Hand-tighten only
- Over-tightening can warp parts or crack plastic.
- Check for interlock engagement
- Many blenders won’t start unless the jar is seated properly.
- Use short test runs
- Run on low speed for 5–10 seconds to confirm correct assembly.
- Unplug before disassembly
- Always disconnect power before removing blades or cleaning.
Safety keeps your blender working as intended and protects you from injury when you put a blender together and use it.

Common mistakes and troubleshooting
If your blender leaks, vibrates, or won’t start, these are common causes and fixes when learning how to put a blender together.
- Leaks at the base
- Cause: gasket misaligned or worn. Fix: reseat or replace the gasket and retighten the collar.
- Jar won’t lock
- Cause: debris in drive socket or incorrect alignment. Fix: clean and realign jar coupling.
- Loud noise or grinding
- Cause: blades hitting a warped jar base or coupling stripped. Fix: inspect blade assembly and base coupling for damage.
- Blender won’t run
- Cause: safety interlock not engaged or power issue. Fix: reseat jar, check outlet, and inspect power cord.
- Overheating or motor smell
- Cause: overload or blocked vent. Fix: unplug, cool down, and reduce load or blend in batches.
These troubleshooting tips reflect hands-on experience and help you quickly correct issues after you put a blender together.

Maintenance and care after assembly
Good care extends your blender’s life and keeps it safe after you put a blender together.
- Clean after each use
- Rinse jar, lid, and gasket. Remove blade assembly and wash carefully by hand or follow dishwasher guidance.
- Inspect parts monthly
- Look for cracks, dull blades, or compressed gaskets and replace as needed.
- Store assembled or disassembled
- For frequent use, store the jar on the base. For long-term storage, disassemble and dry parts fully.
- Lubricate couplings if recommended
- Some manufacturers suggest light lubrication of couplings—follow your manual.
- Replace worn components
- Gaskets and blades wear with use. Replace them to prevent leaks and poor blending.
Consistent care after you put a blender together makes your device reliable and safe.
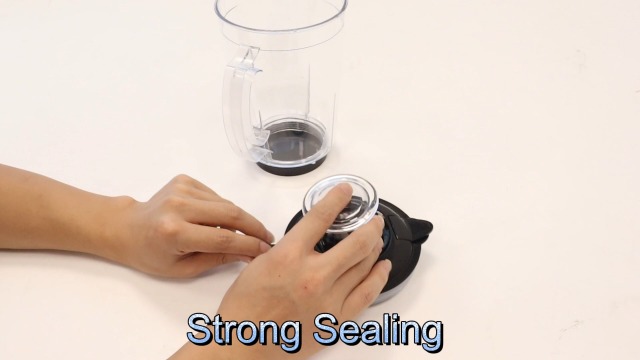
Personal experience and pro tips
I once assembled a blender for a busy test kitchen. I skipped the gasket check and learned fast when the jar leaked during a demo. Since then, I always double-check seals and run a low-speed test. Here are tips from using and testing many blenders.
- Lay out parts first
- Arrange components to confirm everything is present and clean.
- Mark the gasket orientation
- Some gaskets have a lip or notch—note the correct side to save time.
- Use warm water to seat gaskets
- Brief warm water softens rubber and helps the gasket seat evenly.
- Avoid overfilling
- Fill jar to the recommended max to prevent overflow and stress on the motor.
- Blend in batches for tough jobs
- Chop hard items first or pulse to protect the motor and blades.
These practical tips reflect real-world experience and make learning how to put a blender together easier and less stressful.
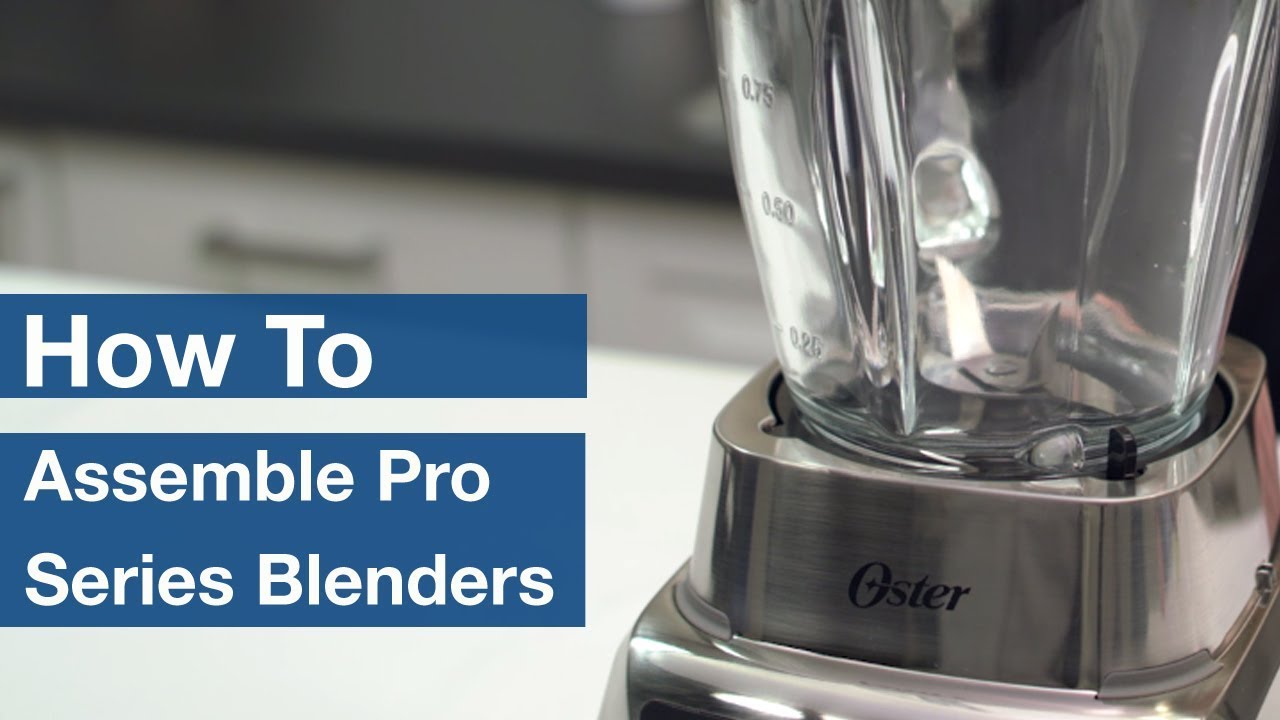
Frequently Asked Questions of how to put a blender together
What order should I assemble blender parts in?
Start with the blade and gasket, secure the retaining ring, place the jar on the base, then add the lid and cap. Confirm the drive socket engagement before plugging in.
How tight should the retaining ring be?
Hand-tighten until snug. Over-tightening can damage threads and warp seals. Tighten only enough to stop leaks.
Can I run my blender without the gasket?
No. The gasket is essential to prevent leaks and protect the motor. Replace a damaged gasket before use.
How do I know if the jar is seated correctly?
You should feel a slight click or alignment, and the blender won’t wobble. Many models also have a safety interlock that allows operation only when seated.
Is it safe to clean the blade assembly in the dishwasher?
Check your manual. Some metal blade assemblies are dishwasher-safe, but gaskets and collars may warp. Hand-washing is safest for longevity.
Conclusion
Putting a blender together is simple when you know the parts and follow clear steps. Inspect components, fit the gasket, secure the blade and collar, seat the jar on the base, and run a low-speed test. With regular checks and proper care, your blender will work reliably and safely. Try assembling and testing your unit now, and leave a comment to share your experience or ask a question.