Blend frozen cream and mix-ins in a Ninja for quick, smooth homemade ice cream.
I’ve been making frozen treats for years and I’ll show you how to make ice cream with a Ninja blender that tastes like a scoop-shop batch. This guide covers gear, simple and advanced recipes, texture tips, and real mistakes I made so you don’t repeat them. Read on to learn easy steps and pro tricks for perfect results every time.
Why choose a Ninja blender for ice cream
A Ninja blender is powerful and fast. It crushes ice and frozen fruit into a creamy base. That makes it ideal for quick, small-batch ice cream. If you want to make ice cream without an ice cream machine, the Ninja is a great tool.
Using a Ninja for how to make ice cream with a Ninja blender gives you control. You can make dairy, dairy-free, and low-sugar versions. You can also customize flavors and textures in minutes.

The basics: how ice cream forms and how a Ninja helps
Ice cream is an emulsion of fat, water, and air. Smoothness comes from small ice crystals and even fat distribution. A fast, sharp blade reduces ice crystals and blends fat into the mix. That is why a Ninja blender is useful for how to make ice cream with a Ninja blender.
You will often use frozen ingredients and a short, high-speed blend. Then pause, scrape, and blend again. This pattern gives a soft, scoopable texture without long churn times.

Ingredients and tools you need
Ingredients
- Heavy cream or full-fat coconut milk for richness.
- Sweetened condensed milk or sugar for sweetness and structure.
- Fresh or frozen fruit for flavor and body.
- Cocoa powder, chocolate, vanilla extract, or espresso for added taste.
- Salt pinch to boost flavor.
Tools
- Ninja blender (single-serve or full-size).
- Freezer-safe container for setting.
- Spatula for scraping the jar.
- Measuring cups and spoons.
- Optional: silicone tamper to push ingredients toward blades.
Tips on ingredient quality
- Use ripe fruit for the best flavor.
- Freeze small cubes of cream or milk if you want faster blending.
- For custard-style ice cream, pre-cook a base then cool before blending.
How to make ice cream with a Ninja blender depends on ingredient prep. Frozen fruit and chilled cream cut blend time and improve texture.

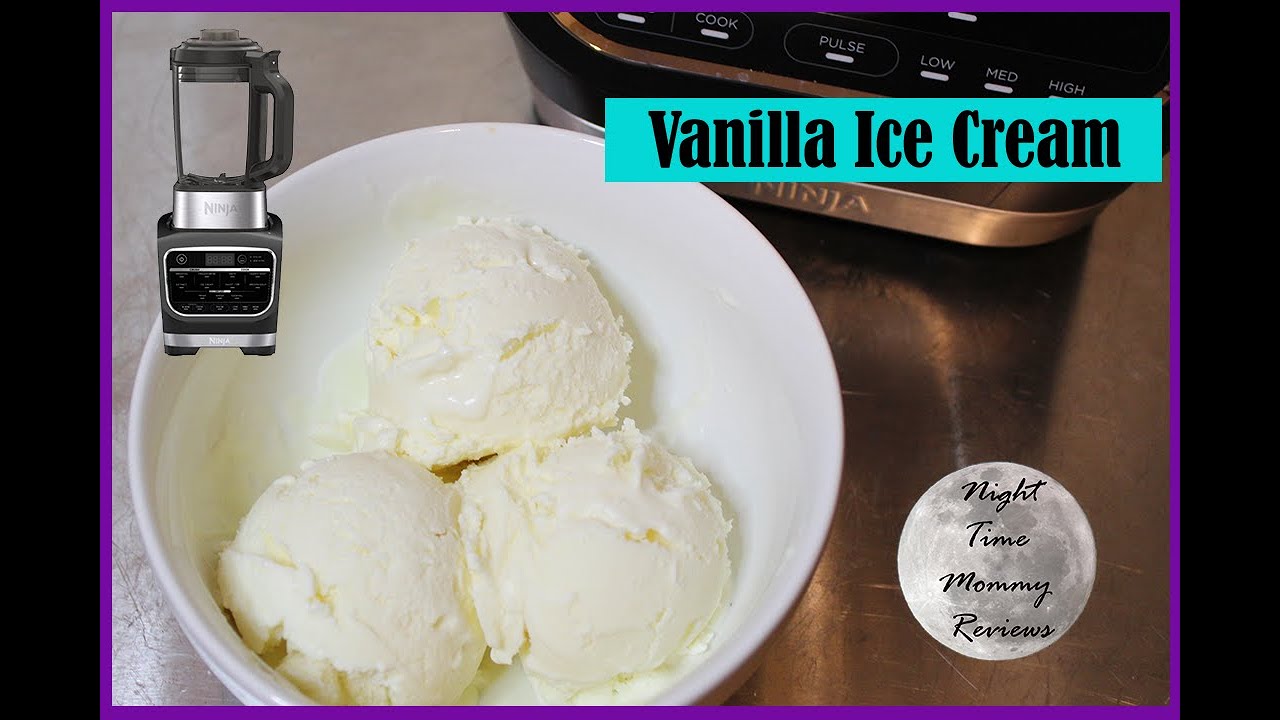
Step-by-step basic vanilla ice cream recipe
This no-churn vanilla is fast and forgiving.
Ingredients
- 2 cups heavy cream, chilled
- 1 cup sweetened condensed milk
- 1 teaspoon vanilla extract
- 2 cups ice cubes or 2 cups frozen cream cubes
Steps
- Pour condensed milk and vanilla into the Ninja jar.
- Add chilled heavy cream and secure the lid.
- Pulse 8 to 12 times. Then blend at medium speed for 20 to 30 seconds.
- Add ice cubes or frozen cream cubes. Pulse until smooth. Stop and scrape sides as needed.
- Check texture. If too soft, pour into a freezer-safe container and freeze 1 to 2 hours to firm up.
- Serve scoops or store in the freezer up to 1 week.
Notes
- For a denser result, chill the blended mixture in the fridge for 30 minutes before freezing.
- Repeat this recipe when exploring how to make ice cream with a Ninja blender to get your ideal scoop.
Banana "nice cream" — a dairy-free favorite
Ingredients
- 3 large ripe bananas, frozen in chunks
- 1 tablespoon maple syrup or honey (optional)
- 1/4 cup almond milk (optional, add little at a time)
Steps
- Put frozen banana chunks into the Ninja jar.
- Pulse to break them down. Use short bursts to avoid warming.
- Add a splash of almond milk if needed. Blend until creamy and smooth.
- Serve immediately for soft-serve texture or freeze 30–45 minutes for scoopable texture.
Why this works
- Frozen bananas are starchy and creamy when blended. This makes them perfect for how to make ice cream with a Ninja blender without dairy.
Rich chocolate fudge ice cream (quick method)
Ingredients
- 2 cups heavy cream
- 1 cup sweetened condensed milk
- 1/2 cup unsweetened cocoa powder
- 1/2 cup chopped dark chocolate or chocolate chips
- Pinch of salt
Steps
- Combine condensed milk, cocoa powder, and salt in the blender jar.
- Add cream and blend briefly until mixed.
- Add chocolate chips and pulse to chop and swirl.
- Freeze for 1 to 2 hours to set or serve soft immediately.
Tip
- Warm chocolate slightly before adding if you want ribbons of fudge without full melt.

Troubleshooting: common problems and fixes
Problem: Ice cream is grainy or icy
- Cause: Large ice crystals or not enough fat/sugar.
- Fix: Use more cream or sweetened condensed milk. Blend slower with short pulses. Chill mix before final freeze.
Problem: Blender overheats or stalls
- Cause: Overfilled jar or long continuous blending.
- Fix: Work in small batches. Let the motor rest 30 to 60 seconds between blends.
Problem: Too thin or soupy
- Cause: Too much liquid or warmed ingredients.
- Fix: Freeze the mixture for 30 to 90 minutes before serving. Use more thick fat like coconut cream or heavy cream.
Problem: Not creamy enough when using fruit
- Cause: Low-fat fruit base or not frozen solid.
- Fix: Freeze fruit well. Add a banana, avocado, or tablespoon of nut butter for creaminess.
These tips come from trial and error. I learned to pulse often. I learned to freeze in shallow containers for faster chill. Small steps avoid big mistakes when learning how to make ice cream with a Ninja blender.

Advanced techniques and add-ins
Custard-style base
- Make a cooked custard with eggs, milk, and sugar. Chill thoroughly. Then blend in the Ninja to aerate and smooth before freezing.
Alcohol additions
- Add a tablespoon of liqueur or vodka to keep texture soft. Don’t add too much or it won’t set.
Mix-ins
- Fold in cookies, nuts, or chocolate after the blend. Pulse once or twice so mix-ins stay chunky.
Swirls and layers
- Split the base. Flavor portions separately, then layer and gently swirl with a spatula.
Pro tips
- Chill the blender jar and blades in the fridge for 10 minutes to keep mixes cold.
- Use metal or glass freezer-safe containers for faster freeze times.
- Freeze in shallow trays for faster set and smaller ice crystals.
These methods help expand what you can do while learning how to make ice cream with a Ninja blender.
Cleaning and safety tips for your Ninja
Cleaning
- Unplug the unit first.
- Rinse the jar right after use to avoid dried sugar.
- Use warm soapy water and a soft brush for blades. Many parts are dishwasher-safe but check your model.
Safety
- Never run the blender while the lid is off.
- Do not blend very hard frozen blocks without a short thaw. This helps protect the motor and blades.
- Keep hands and utensils away from blades.
I once left small bits of fruit in the jar overnight. They stained the base. Rinse early and it saves time and fuss later.
Frequently Asked Questions of how to make ice cream with a ninja blender
Can I make soft-serve and scoopable ice cream in a Ninja blender?
Yes. Blend until smooth for soft-serve and freeze 30 to 120 minutes to firm up for scoopable ice cream. Use more fat for a creamier, scoopable result.
Is it okay to use frozen milk instead of ice?
Yes. Frozen milk or cream cubes work well. They reduce water content and help you achieve a creamy texture when learning how to make ice cream with a Ninja blender.
How long should I freeze the mixture after blending?
Usually 1 to 2 hours for scoopable texture, or up to several hours for firmer ice cream. Freeze time depends on container depth and freezer temperature.
Will the blender motor overheat if I make ice cream often?
It can if you run long cycles or large batches. Work in small batches and give the motor rest between blends to avoid strain.
Can I make gelato or custard in a Ninja blender?
Yes. Make a custard base first, chill it well, then blend briefly in the Ninja to aerate. Freeze until set for a gelato-like texture.
Conclusion
Making frozen treats at home is simple with the right approach. Follow clear steps, use frozen ingredients, and work in short pulses to master how to make ice cream with a Ninja blender. Try the basic recipes, then experiment with mix-ins, custard bases, or dairy-free swaps. Your next step: pick a recipe, gather your ingredients, and make a small test batch today. Share your results, ask questions, or subscribe for more quick kitchen guides.