LG Oven Stopped Working: Quick Fixes & Troubleshooting
Most often the LG oven stopped working due to a tripped breaker or a faulty control board.
I have guided dozens of homeowners through oven troubles. This article explains why your LG oven stopped working, how to safely troubleshoot common faults, and when to call a pro. I combine hands-on experience, clear steps, and practical tips so you can fix simple issues fast or make the right repair call.
Why your LG oven stopped working: common causes
An LG oven stopped working for many clear reasons. Understanding the likely cause helps you fix it fast. Below are the top failures I see in the field.
- Power loss. A tripped breaker, blown fuse, or loose plug can cut power instantly.
- Faulty control board. The control board or touch panel can fail and stop the oven from responding.
- Thermal fuse or sensor failure. Overheat protection parts can blow and interrupt operation.
- Heating element or igniter failure. Electric coils or gas igniters wear out and stop heating.
- Door latch or lock issue. Self-clean or locked-door faults prevent operation.
- Software or error codes. Firmware glitches or stored errors can disable functions.
- Wiring or connection problems. Loose or damaged wires cause intermittent or total failure.
These causes explain most cases where an LG oven stopped working. Knowing the likely fault narrows your tests. After a quick check you will often find the fix.

How to troubleshoot when an LG oven stopped working
Start with safe, simple checks. Use short tests to find the problem. Stop and call a technician if you are unsure.
-
Check power
- Verify the oven is plugged in if it uses a cord.
- Check your circuit breaker or fuse box. Reset any tripped breaker.
- Confirm other appliances on the same breaker work.
-
Inspect the control panel
- Does the display light up? No display suggests power or control board issues.
- Try a power reset: turn off the breaker for 60 seconds, then restore power.
-
Look for error codes
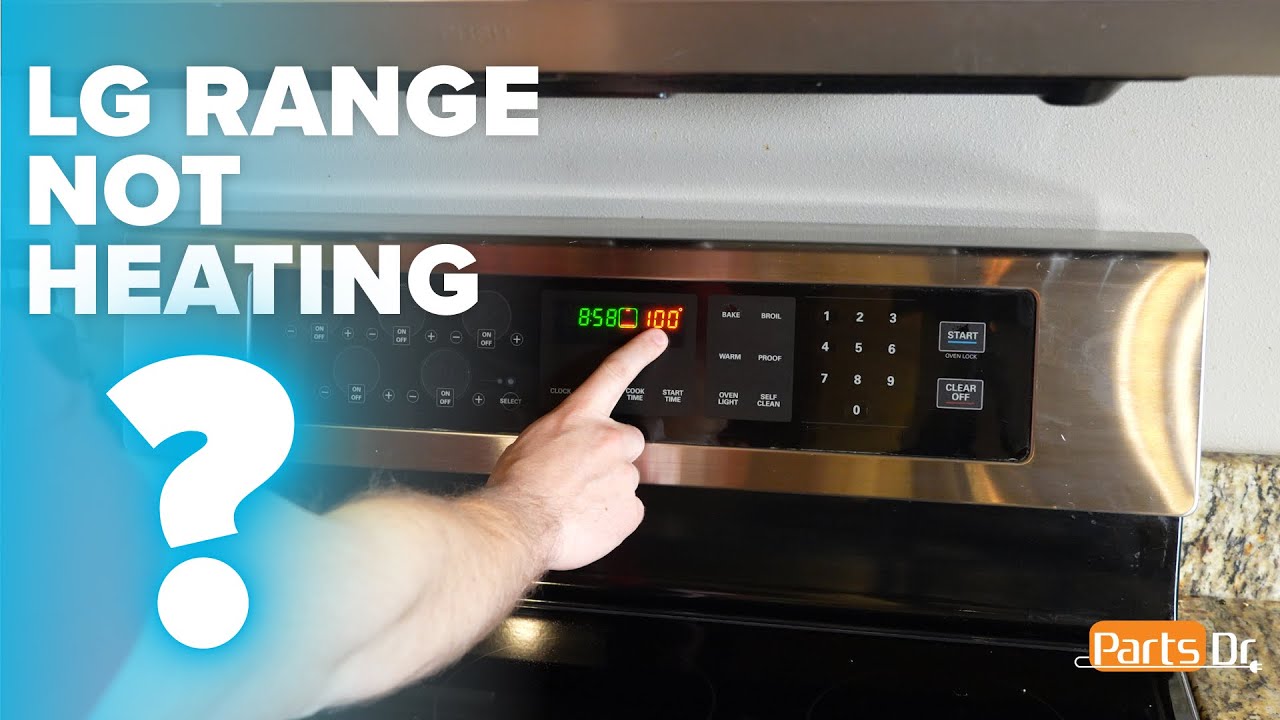
- LG ovens show short error codes like F1, F2, E0. Write the code down.
- Consult the manual or the error-code list in this guide to interpret it.
-
Test heating and ignition
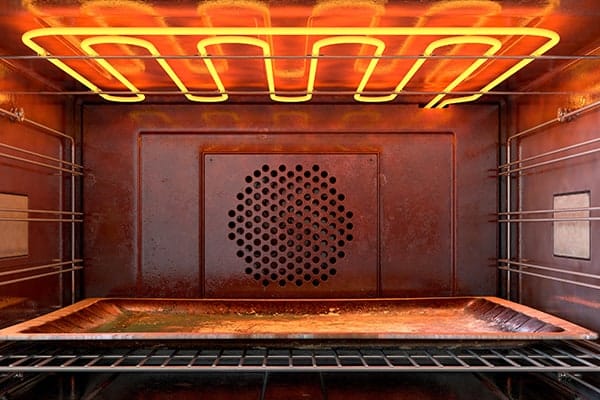
- For electric ovens: set bake and check if elements glow red or heat.
- For gas ovens: listen for the igniter clicking or glow; no glow points to the igniter.
-
Safety checks
- Unplug the unit or shut power at the breaker before touching parts.
- Do not work on gas lines yourself unless you are certified.
These steps help locate why an LG oven stopped working. Small checks save time and money.

Quick PAA-style questions (short answers)
What if the oven display is blank?
- A blank display often means no power or a faulty control board. Check the breaker and power first.
Why does the oven show F1 or F2?
- These codes point to key or touch control faults. Try a power reset and inspect the panel.
Can a self-clean cycle cause failure?
- Yes. Self-clean can overheat and trip thermal fuses or locks. Let the oven cool and reset power.

Step-by-step fixes for common issues
Below are practical fixes I use often. Each fix lists tools and time estimates.
Power and breaker fixes
- Tools needed: flashlight, screwdriver.
- Steps:
- Check the breaker and reset if tripped.
- Inspect the outlet or plug for damage.
- If the oven is hardwired, look for loose terminal screws (power off first).
- Time: 10–30 minutes.
Control board and display faults
- Tools needed: multimeter, screwdriver.
- Steps:
- Power-cycle the oven at the breaker for one minute.
- If the display is still blank, test voltage at the control board (only if you are comfortable).
- Replace the control board if there is no power at the board or after other parts test good.
- Time: 30–90 minutes plus parts.
Heating element, igniter, and sensor repairs
- Tools needed: multimeter, socket set.
- Steps:
- Remove the element and test continuity. No continuity means replace element.
- For gas ovens, test the igniter current draw. Low current means replace igniter.
- Thermostat and temperature sensors can be tested with resistance checks.
- Time: 30–60 minutes.
Door latch and lock fixes
- Tools needed: screwdrivers.
- Steps:
- If locked after self-clean, disconnect power for several minutes before trying again.
- Inspect the latch and motor assembly for broken parts.
- Replace latch or motor if mechanical parts are damaged.
- Time: 30–60 minutes.
Error-code driven repairs
- Tools needed: manual, notes.
- Steps:
- Note the exact code shown.
- Look up the code in the LG manual or service sheet.
- Address the specific sensor, switch, or board named by the code.
- Time: Varies.
These fixes address most cases where an LG oven stopped working. If a repair involves gas or complex electronics, hire a licensed pro.

When to call a professional
Some problems need a trained technician. Call a pro if:
- You smell gas or detect a gas leak. Leave and call emergency service.
- The oven still won’t power on after breaker and plug checks.
- The control board or sealed electronics need replacement and you lack experience.
- You find damaged wiring or burning smell. These are fire risks.
- The repair involves gas line or major disassembly.
From my experience, DIY is fine for simple checks and part swaps. Avoid DIY for gas, high-voltage work, or complicated control board diagnosis. Hiring a pro protects your safety and warranty.
Repair costs and parts guide
Knowing typical costs helps plan repairs. Prices are approximate and vary by location.
-
Thermal fuse or sensor
- Cost for part: $15–$60
- Labor: $50–$150
-
Heating element (electric)
- Cost for part: $30–$120
- Labor: $60–$180
-
Igniter (gas)
- Cost for part: $25–$100
- Labor: $75–$200
-
Control board or user interface
- Cost for part: $150–$600
- Labor: $100–$300
-
Door latch or lock assembly
- Cost for part: $30–$200
- Labor: $75–$200
These figures help when an LG oven stopped working. Ask for a written estimate before any major repair. Also check if your appliance warranty or credit card protection covers the fix.

Prevention and maintenance to avoid future failures
Keep your oven in top shape with small habits. I follow these and avoid most breakdowns.
- Clean spills quickly to prevent sensor faults.
- Avoid frequent full self-clean cycles. Use light cleaning and steam for daily care.
- Check door seals and hinges. Replace seals that are brittle or torn.
- Run full diagnostics yearly if you use your oven a lot.
- Keep vents and filters clear to prevent overheating.
Simple maintenance reduces the odds your LG oven stopped working. Routine care saves money and time.
Personal experience, lessons, and tips
I have repaired many ovens in homes and rentals. Here are a few real lessons I learned.
- Lesson 1: Most calls were solved by resetting the breaker or replacing one small part.
- Lesson 2: People try to run self-clean cycles weekly. That speeds wear on seals and fuses.
- Lesson 3: Keep a spare heating element in the garage if you use the oven daily. Replacing it saved a busy homeowner one weekend.
- Tip: Take a photo of wire layouts before disassembly. It makes reassembly error-free.
- Tip: Always test simple things first. Short checks often solve the problem faster than full tear-downs.
These small habits and lessons cut repair time and give peace of mind.

Frequently Asked Questions of LG oven stopped working
What should I check first when my LG oven stopped working?
Start with power. Check the circuit breaker, outlet, and power cord. Reset the breaker and test other nearby outlets.
Why does my LG oven display an error code?
An error code points to a sensor or control fault. Note the code and consult the manual for the next steps.
Can a simple reset fix an LG oven not working?
Yes. Power cycling at the breaker for 60 seconds often clears minor faults and resets the control board.
Is it safe to repair the oven myself?
You can do basic checks like breakers and visible parts. Do not work on gas lines or live high-voltage parts. Call a pro for those.
How much will it cost to repair if an LG oven stopped working?
Minor fixes cost $50–$200. Control board or major repairs range $200–$900. Costs depend on parts and labor.
Why does the oven turn on but not heat?
A failed heating element, igniter, or thermal fuse is likely. Test parts for continuity, or have a technician inspect them.
My oven was locked after self-clean. What now?
Disconnect power and wait 10–20 minutes. If the door still won’t unlock, the latch motor or lock may need replacement.
Wrap-up
You now have a clear path when an LG oven stopped working. Start with safe power checks, read error codes, and try simple fixes. If the issue involves gas, wiring, or major electronics, hire a licensed technician to protect safety and warranty. Take preventative steps now to reduce future breakdowns.
Put this guide to use: try the simple steps, note error codes, and decide if DIY or a pro is best. If this helped, leave a comment or share your repair story so others can learn.