Kenmore Oven Stopped Working: 7 Quick Fixes
Most Kenmore ovens stop working due to power issues, faulty heating elements, or control board failure.
If your Kenmore oven stopped working, you’re in the right place. I’ve spent years troubleshooting and repairing household ovens, and this guide walks you through clear, practical steps to diagnose why your Kenmore oven stopped working, how to fix simple problems safely, when to replace parts, and when to call a pro. Read on for easy checks, repair options, realistic costs, and maintenance tips that save time and money.
 working”
style=”max-width: 100%; height: auto; border: 2px solid black; border-radius: 10px; display: block; margin: 0 auto;”
loading=”lazy”
/>
Common causes why a Kenmore oven stopped working
A Kenmore oven stopped working for many reasons.
Power problems are top causes. Check breakers, outlet power, and cord condition first.
Heating parts like bake or broil elements wear out over time. A broken element means no heat.
Control boards, thermostats, and sensors can fail and stop the oven from starting or heating correctly.
How to diagnose the problem step by step
Follow a safe step-by-step approach to find why your Kenmore oven stopped working.
Turn off power at the breaker before touching anything. Work slowly and take notes so you can tell a technician what you tried.
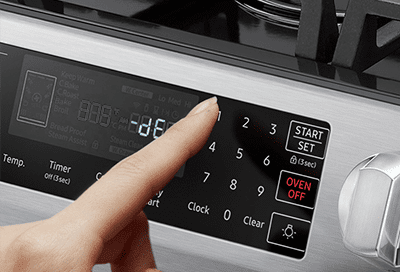
- Check power and display
- Ensure circuit breaker is on and fuses are good.
- Confirm oven clock or display lights up. No lights often mean no power.
- Test fuses and door switches
- Many ovens have internal fuses: a blown fuse will kill function.
- Some models use a door switch for safety; a faulty switch can stop operation.
- Inspect heating elements
- Look for breaks or blistering on the bake and broil elements.
- Use a multimeter to check continuity; no continuity means replace the element.
- Evaluate electronic controls and thermostat
- Error codes on the display often point to control or sensor faults.
- Temperature sensors usually read about 1100–1400 ohms at room temp; far off readings mean replacement.

Quick fixes you can try safely
Many fixes are simple and don’t need expert help. Always cut power first.
- Reset the oven by turning the breaker off for 60 seconds and on again.
- Replace a blown fuse if you can access it safely.
- Tighten a loose power plug or replace a damaged cord.
- Swap a visibly damaged heating element; parts are inexpensive and straightforward to install.
- Clean and reseat oven knobs and switches that may be stuck or dirty.
When parts are likely the problem
Knowing which part fails most often helps prioritize repairs when your Kenmore oven stopped working.
- Heating elements
- Bake and broil elements are first to check when there is no heat or uneven cooking.
- Thermal fuse and door switches
- These safety parts fail and cut power when faulty.
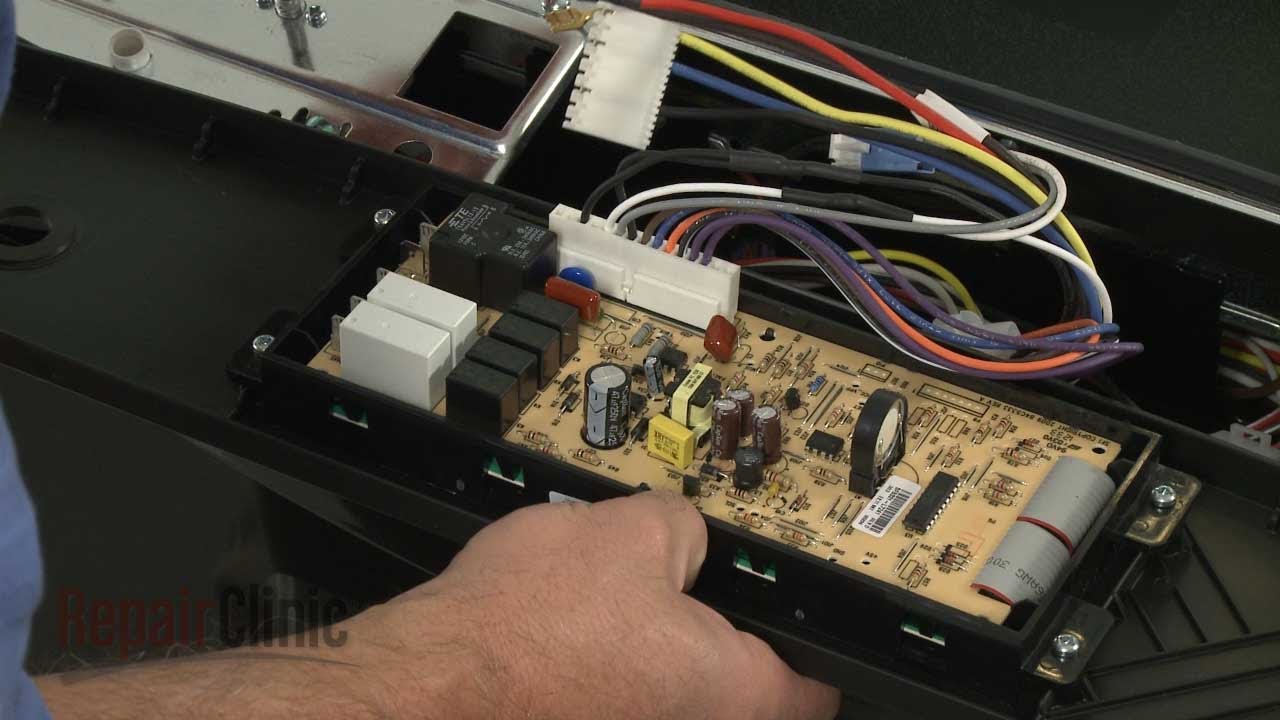
- Electronic control board
- If the oven won’t start but has power, controls can be the culprit.
- Temperature sensor and thermostat
- If oven runs but does not reach set temps, the sensor may be bad.
Cost, repair options, and DIY vs professional
Decide your route based on skills, cost, and safety. The cost and effort vary a lot when a Kenmore oven stopped working.
- DIY fixes
- Cost: $10–$100 for parts like elements, fuses, or sensors.
- Time: 30 minutes to 2 hours for common swaps.
- Best for simple, non-electrical tasks and parts replacement.
- Professional repair
- Cost: $150–$500 depending on service call, parts, and labor.
- Recommended for control board replacement, complex wiring, gas valve work, or when diagnostics are unclear.
- Replacement decision
- If repair cost exceeds half the oven’s replacement value, consider replacing the unit.
- Older ovens with repeated failures often justify a new purchase.
Safety tips when troubleshooting ovens
Safety matters whenever you handle a Kenmore oven because electricity and heat are involved.
- Always shut off power at the circuit breaker before opening panels.
- Use insulated tools and avoid wet hands or floors.
- If you smell gas or suspect a gas leak, leave the house and call your utility immediately.
- Don’t attempt gas valve or sealed burner repairs unless certified; call a qualified technician.

Preventive maintenance to avoid future breakdowns
Routine care lowers the chance your Kenmore oven stopped working later.
- Clean spills and grease to prevent sensor and element damage.
- Check elements and door seals periodically for wear.
- Avoid harsh cleaners on sensors, wiring, and controls.
- Run self-clean cycles only as recommended; overuse can stress parts.

When to call a professional
Call a pro if the oven has these signs after basic checks or if you’re uncomfortable working with wiring or gas.
- No power to the oven but the rest of the kitchen is fine.
- Persistent error codes you can’t clear after a reset.
- Gas smell, incomplete combustion, or strange burning smell.
- Control board replacement or complex electronic diagnostics required.
Personal experience: lessons learned from repairs
From my years troubleshooting ovens, I learned small checks save big headaches.
I once fixed a Kenmore oven that stopped working simply by replacing a tiny thermal fuse for under $20. The owner almost ordered a new range unnecessarily.
Lesson: start with power checks, fuses, and visible parts before assuming a control board failure. That approach saves time and money.
PAA-style questions (short answers)
What should I check first when my Kenmore oven stopped working?
- Start with power: breakers, outlet, and the oven cord. If the display is blank, that’s a power issue.
Can a bad element cause the oven to stop entirely?
- Yes. A shorted element can blow a fuse or trip safety devices that stop oven function.
Will resetting the oven fix the problem?
- Sometimes. Power cycling can clear errors or reset the control board, but persistent failures need deeper checks.
Frequently Asked Questions of Kenmore oven stopped working
Why won’t my Kenmore oven turn on at all?
Check the circuit breaker, power cord, and appliance fuse. If power is present but the oven still won’t start, the control board or door switch may be faulty.
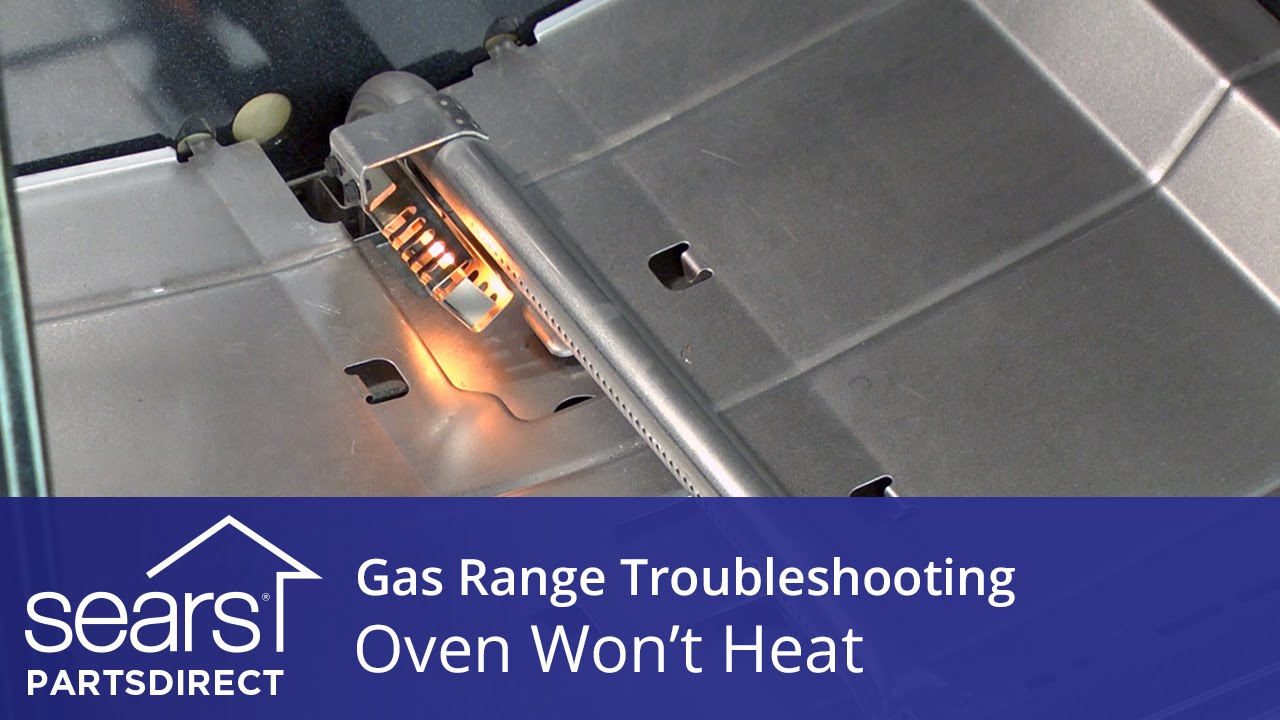
The oven has power but won’t heat—what could be wrong?
A failed bake or broil element, a bad temperature sensor, or a blown thermal fuse are common reasons. Test elements for continuity and check sensor readings with a multimeter.
I see an error code—what does it mean?
Error codes vary by model and usually point to sensors, the control board, or temperature issues. Note the code, try a power reset, and consult your manual or a technician for exact meaning.
Is it expensive to fix a Kenmore oven that stopped working?
Simple parts like elements and fuses are inexpensive, often under $100 including labor. Complex electronic board repairs or gas valve work can raise costs, sometimes $200–$500.
Can I replace parts myself safely?
Yes for external parts like elements or knobs if you disconnect power first. For gas systems or complex electronics, hire a qualified technician to ensure safety and proper repair.
How long will a repaired oven last after fixing it?
A properly done repair can restore normal life for many years. Longevity depends on part quality, correct diagnosis, and maintenance practices.
Conclusion
When a Kenmore oven stopped working, start simple: check power, fuses, and visible elements, then move to sensors and controls as needed. Use safe DIY fixes for easy parts, but call a pro for gas or complex electronic repairs. My practical tip: document symptoms and steps you tried before calling help — it saves time and money. Try these steps, and if you found this guide useful, leave a comment, subscribe for more appliance tips, or share your repair story.