Oven Stopped Working After Self Cleaning: Quick Fixes
A clogged sensor or tripped safety switch often stops an oven after self-cleaning.
I’ve spent years fixing kitchen appliances and guiding homeowners through oven problems, so I know how frustrating it is when your appliance fails right after a self-cleaning cycle. This article explains why an oven stopped working after self cleaning, how to diagnose common faults, step-by-step troubleshooting you can try safely, when it’s time to call a pro, and practical tips to prevent a repeat. Read on for clear, experience-backed advice and easy-to-follow fixes so your oven gets back to cooking quickly.

How self-cleaning works and why problems happen
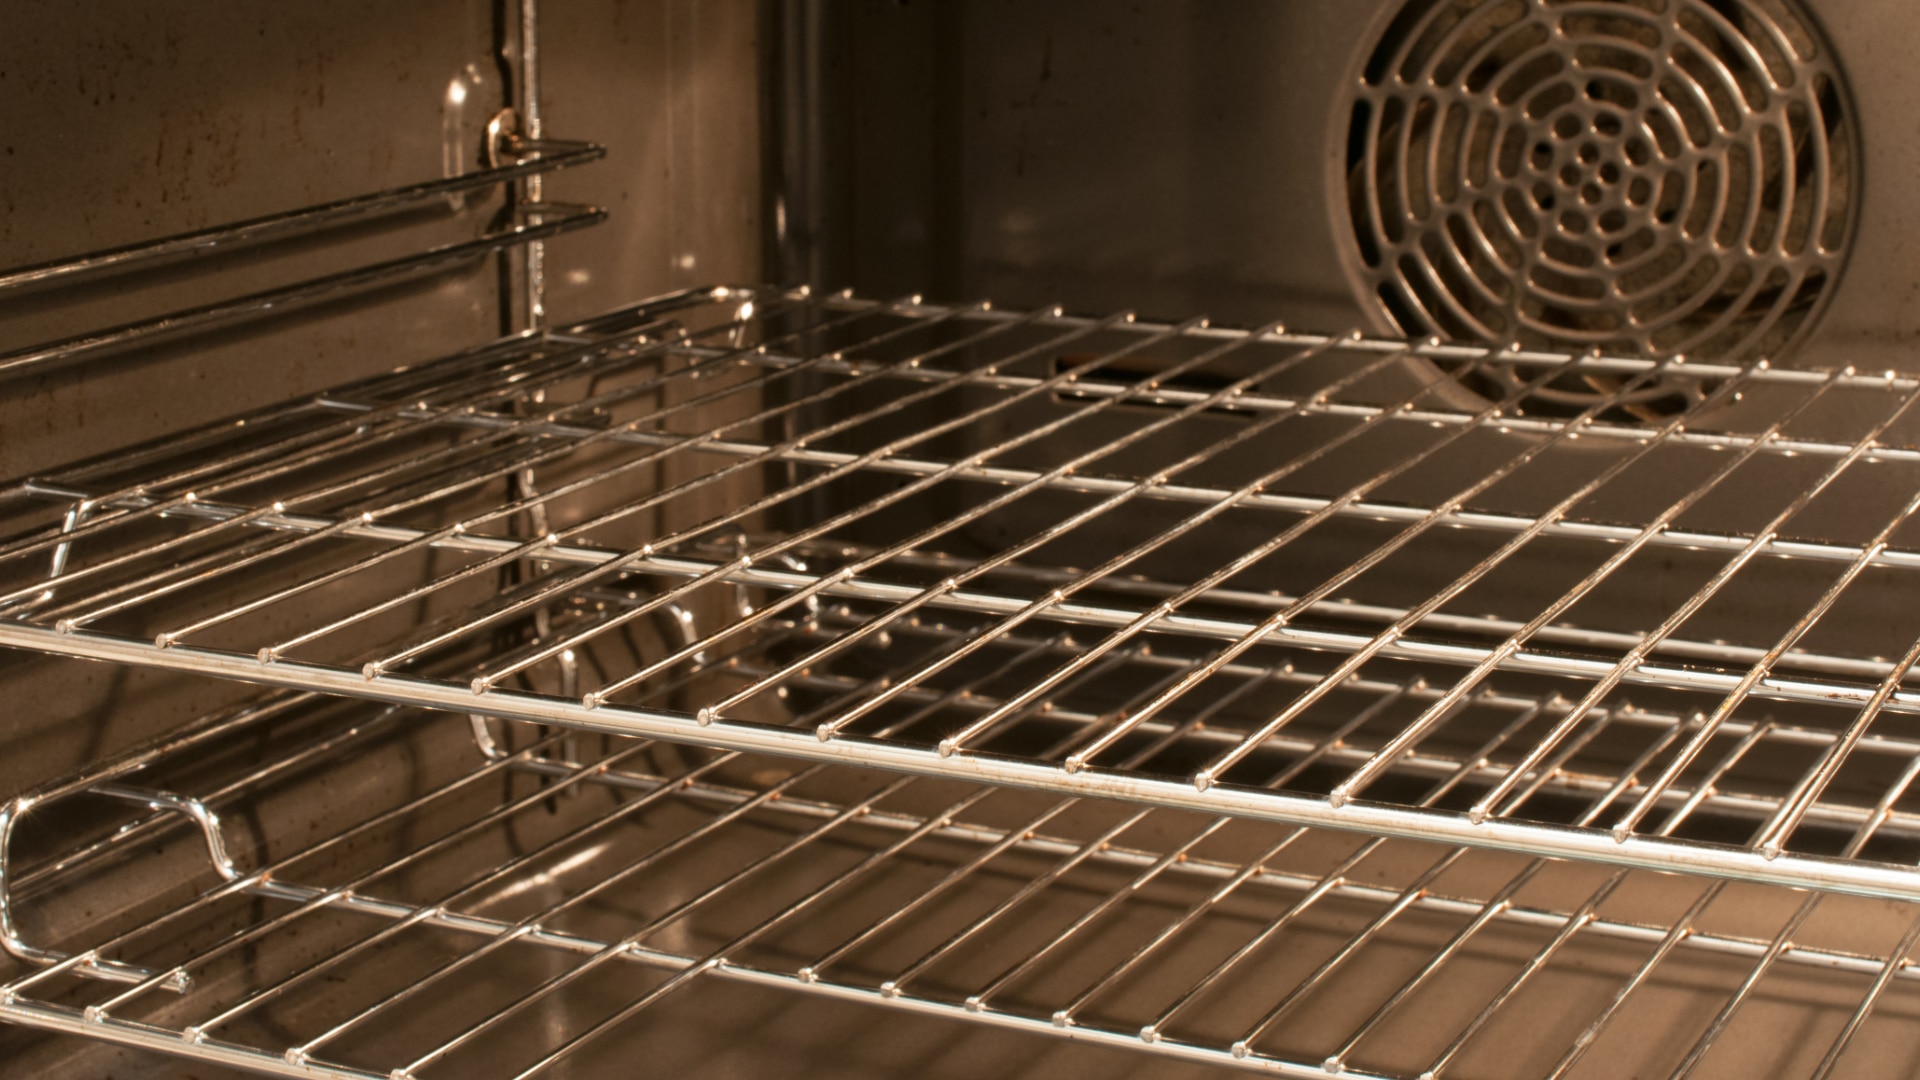
Self-cleaning cycles heat the oven to extremely high temperatures to burn off food residue. That high heat helps clean the cavity but can stress sensors, wiring, and electronic controls. Knowing how the self-clean function works makes it easier to understand why an oven stopped working after self cleaning and what parts are most likely affected.
Self-cleaning can trigger safety features. Thermal fuses and control boards can trip or fail when exposed to heat, and door locks may remain engaged until the system is reset. If your oven stopped working after self cleaning, these are the likely culprits to consider first.

Common causes of an oven stopped working after self cleaning
Below are the most frequent causes I’ve encountered when an oven stopped working after self cleaning. Each one is paired with a simple explanation.
- Tripped circuit breaker or blown fuse
- High current during self-cleaning can trip home breakers. A breaker is a quick check and often the easiest fix.
- Locked or jammed door latch
- The door lock mechanism heats up and can stay locked or fail to release, preventing the oven from powering on.
- Faulty thermal fuse or temperature sensor
- These safety parts can blow to protect the oven. If the thermal fuse opens, the oven won’t power or heat.
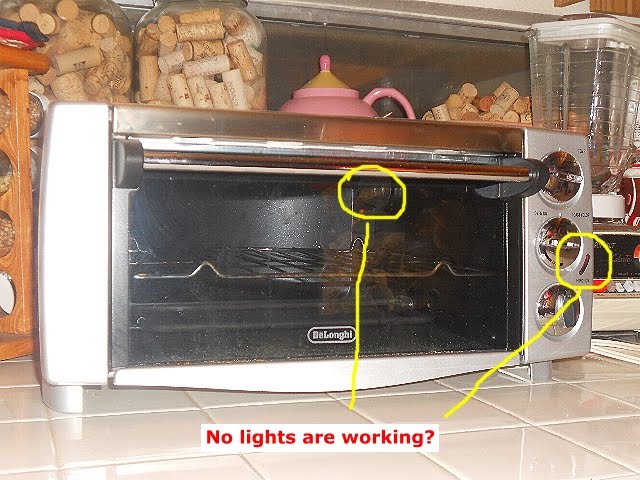
- Damaged control board or touchpad
- Extreme temperatures can degrade electronics. A blank display or unresponsive controls often point to control failure.
- Wiring damage or connector issues
- Heat can melt insulation or loosen connectors. Intermittent power or error codes may come from wiring faults.
- Gas valve or igniter issues (for gas ovens)
- Self-clean heat can stress the igniter or valve. If the oven won’t light or stays cold, check these parts.
If your oven stopped working after self cleaning, start with the simple checks above and move to component-level testing only if you’re comfortable and safe.
Troubleshooting steps you can try safely
Work methodically. Turn off power at the breaker before opening panels. If you’re not comfortable, call a technician.
- Quick safety and power reset
- Turn off the oven at the wall breaker for 60 seconds, then switch it back on. This sometimes resets the control board and clears lockouts.
- Check the household breaker and fuses
- Inspect your electrical panel. Reset any tripped breakers and replace blown fuses before further troubleshooting.
- Test the oven display and controls
- If the display is blank or the touchpad is unresponsive, the control board or the touchpad might be damaged. A reset can help, but persistent blank screens usually need professional attention.
- Look at the door lock
- If the door remains locked after a cycle, let the oven cool and try the reset. If it still won’t release, the door lock assembly may need replacement.
- Inspect for visible damage
- With power off, look for burned wires, melted insulation, or scorched components behind the control panel. Take photos and avoid touching components until discharged.
- Test thermal fuse and temperature sensor
- Use a multimeter to check continuity on the thermal fuse and sensor. No continuity usually means a failed safety part.
- Watch for error codes
- Some ovens show error codes after self-clean cycles. Note codes and consult your manual to narrow the cause.
- Gas-specific steps
- For gas ovens, confirm the gas supply is on, and listen for the igniter clicking. No ignition might indicate a failed igniter or gas valve problem.
Keeping a step-by-step approach reduces guesswork and avoids unnecessary replacement of parts.

When to call a professional
If basic resets and the simple checks above don’t restore function, it’s time to call a trained appliance technician. Call a pro when:
- The control board appears burnt or the electronics are damaged.
- You find melted wiring or serious heat damage.
- You are uncomfortable working with live electrical components or gas lines.
- The oven still shows error codes after resets and basic tests.
A qualified technician will run safe diagnostics, source OEM parts if needed, and ensure proper repair. If your oven stopped working after self cleaning and it’s under warranty, contact the manufacturer first to avoid voiding coverage.
Preventing an oven from stopping after self cleaning
Small habits can reduce risk. Use these preventive tips to protect your oven.
- Remove heavy spills before self-cleaning
- Large food deposits produce more smoke and heat stress.
- Run self-clean cycles when you’re home
- Stay nearby to monitor and shut down if you smell burning or see trouble.
- Follow manufacturer instructions and limits
- Use the recommended cycle length and don’t run frequent back-to-back cleanings.
- Keep ventilation clear
- Good airflow reduces heat buildup in control areas.
- Perform periodic checks
- Inspect wiring and seals annually, especially if you use self-clean often.
- Use shorter or eco self-clean modes when available
- Lower-temperature options clean while reducing stress on components.
These steps cut down the chance your oven stopped working after self cleaning and extend appliance life.

Personal experience and lessons learned
I’ve repaired dozens of ovens that failed after self-cleaning. One common case was a 10-year-old electric oven whose control board failed after a long high-heat cycle. A simple breaker reset didn’t help; replacing the control board fixed both the blank display and the locked door. From that job, I learned to always check the thermal fuse first and to warn homeowners about repeated long self-clean cycles.
A mistake I often see is rushing to replace expensive parts without basic tests. Test the fuse, sensor, and breaker first. That saves time and money. If you’re unsure, a quick call to a local appliance tech can prevent costly mistakes.

Frequently Asked Questions of oven stopped working after self cleaning
Why did my oven stop working right after self-cleaning?
Self-cleaning runs at very high heat and can trip safety devices or damage electronic components. Check the circuit breaker, door lock, and thermal fuse first before assuming major damage.
Can I reset my oven after a self-cleaning cycle?
Yes, try switching off the oven’s circuit breaker for 60 seconds and turning it back on. If the oven still won’t power up, further diagnosis of thermal fuses and control boards is needed.
Is it safe to open the oven door if it stayed locked after cleaning?
No, wait for the oven to cool. Forcing the door can damage the lock or hinges. If it doesn’t unlock after cooling, contact a technician.
Will warranty cover damage caused by self-cleaning?
It depends on your warranty terms and whether manufacturer instructions were followed. Contact the manufacturer or review your warranty to confirm coverage details.
How much does it typically cost to repair an oven after self-cleaning damage?
Costs vary by fault and model. Minor fixes like a thermal fuse replacement are cheaper, while control board or wiring repairs cost more. A technician can provide an estimate after inspection.
Conclusion
If your oven stopped working after self cleaning, the most likely issues are tripped breakers, door locks, thermal fuses, or damaged control electronics. Start with safe resets and simple checks, then move to component testing or a professional repair if needed. My advice: take a calm, stepwise approach—test the easy things first, avoid forcing parts, and call a qualified technician when the problem is beyond basic troubleshooting. Try the steps here, leave a comment with your oven model and symptoms, and consider subscribing for more appliance repair tips and clear how-to guides.