Maytag Oven Stopped Working: Quick Fixes & Troubleshooting
Most Maytag ovens stop working due to power, control board, or heating element issues.
I’ve spent years fixing home ovens and helping readers diagnose problems. This guide digs into why your Maytag oven stopped working, how to troubleshoot step by step, when to call a pro, and how to prevent future failures. You’ll find clear tests, real-life examples, approximate repair costs, and safe DIY tips so you can decide the best fix for your situation. Read on to get your oven back to cooking.

Why your Maytag oven stopped working: a quick overview
When a Maytag oven stopped working, it usually means one of a few core systems failed. Power issues, faulty control boards, bad heating elements, igniters, or safety fuses are common causes. Electronic control failures and user errors (tripped breakers or locked controls) also show up a lot.
Understanding these parts helps you narrow down the cause. I’ll explain each likely failure in simple terms and show how to test them safely. This section gives the foundation you need before you touch wires or order parts.
Common causes and how they fail
Here are the most common reasons a Maytag oven stopped working, explained in plain language.
- Power and electrical issues
- Circuit breaker tripped or blown fuse can cut power to the oven.
- Loose or damaged power cord or wall outlet causes intermittent or no power.
- Control board or touchpad failure
- The electronic control board can fail, leaving the oven unresponsive or showing error codes.
- The touchpad/control panel may be faulty even if other parts work.
- Heating element or bake/oven element failure
- For electric ovens, the bake or broil element can break or burn out and not heat.
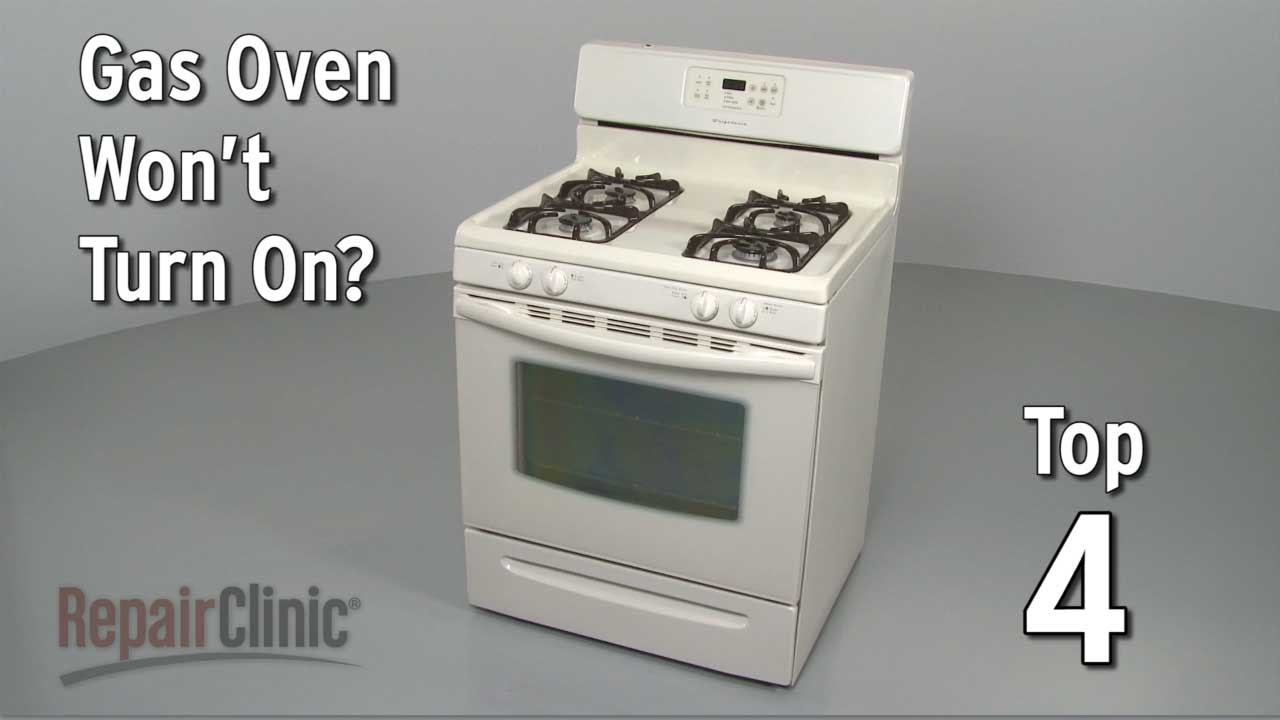
- Igniter or gas valve problems (gas ovens)
- A weak igniter won’t light the burner. If the igniter fails, the oven will not heat.
- Thermal fuse, thermostat, or temperature sensor
- Safety fuses or sensors can cut power when they detect overheating or faults.
- Door latch and lock issues
- Self-clean cycles or failed door latches can leave the oven locked or prevent operation.
- Error codes and software glitches
- Software or firmware issues can freeze the control board and require a reset or replacement.
Most of these are fixable. Start by checking power and simple resets before replacing parts.

Step-by-step troubleshooting guide (safe and simple)
Follow these steps in order. Stop if you are unsure or if the task requires opening sealed panels.
- Safety first
- Unplug the oven or switch off the breaker before opening panels.
- For gas ovens, turn off gas or call a pro for any gas-line work.
- Check basic power
- Make sure the circuit breaker is on and not tripped.
- Test the outlet with another appliance or a voltage tester.
- Inspect the power cord for damage.
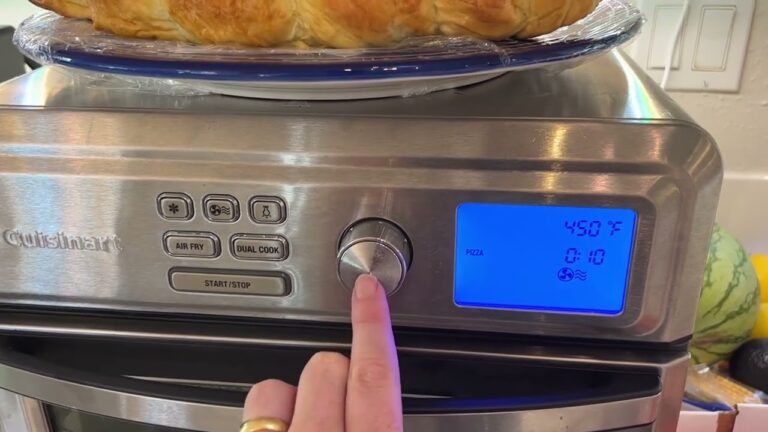
- Try a soft reset
- Turn off power for 1 minute, then restore it. Some control boards reboot and clear errors.
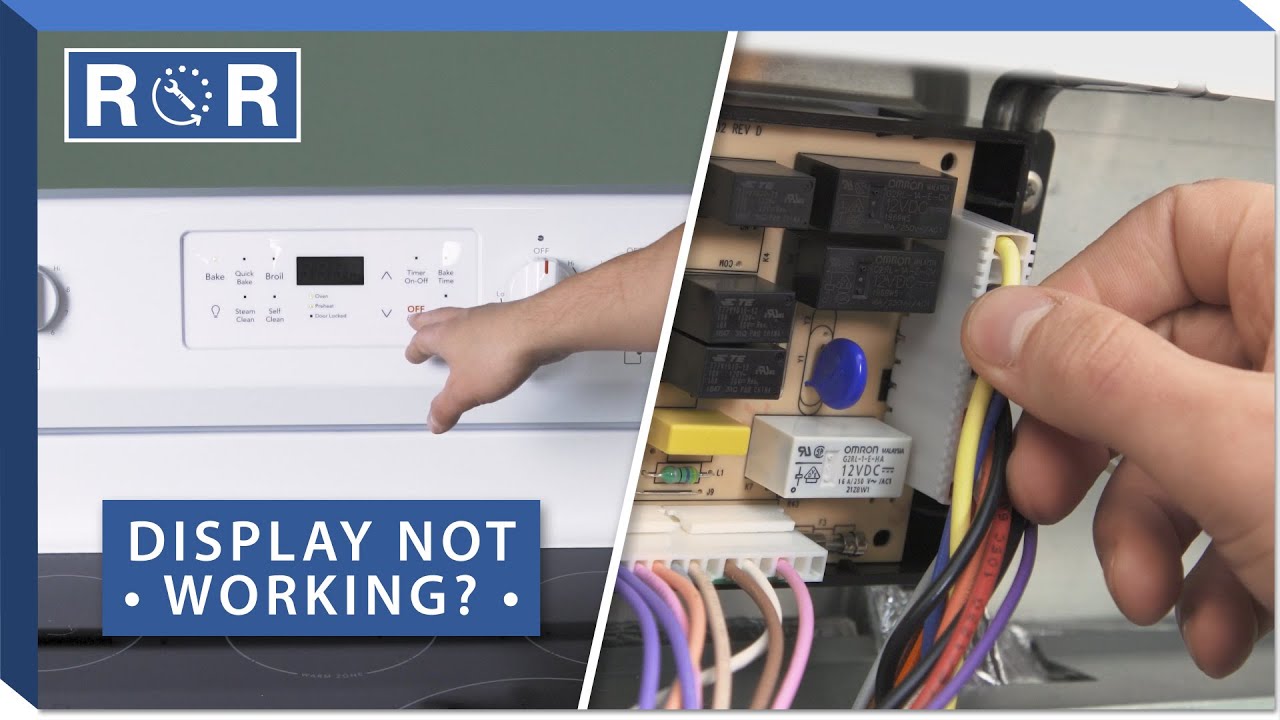
- Inspect the display and control panel
- If the panel is blank, it’s likely a power or control board issue.
- Error codes on-screen often point to specific parts.
- Test heating operation
- For electric ovens, turn on bake and listen/look at the element. If it stays cold, test the element for continuity with a multimeter.
- For gas ovens, turn on bake and watch the igniter. If it glows but no flame, the gas valve may be bad. If it does not glow, replace igniter.
- Check sensors and fuses
- Use a multimeter to test temperature sensors and thermal fuses for continuity.
- Inspect the door latch and lock
- If the oven is stuck in lock mode after self-clean, try a reset or manually inspect the latch after power is off.
- Look for error codes and document them
- Write down any codes; they speed up repair and parts lookup.
If a multimeter test shows an open circuit where there should be continuity, that part likely needs replacement. If you’re not comfortable with electrical testing, stop and call a technician.

Common parts that fail and repair cost estimates
Knowing the parts and rough costs helps you decide if DIY repair makes sense.
- Electronic control board
- Signs: blank display, unresponsive controls, error codes.
- Approximate cost: $150–$400 plus labor.
- Bake or broil heating element (electric)
- Signs: no heat or uneven heat, visible breaks.
- Approximate cost: $30–$120.
- Igniter (gas ovens)
- Signs: no ignition, long glow time before flame.
- Approximate cost: $30–$150.
- Temperature sensor or thermostat
- Signs: wrong oven temperature or overheating.
- Approximate cost: $20–$100.
- Thermal fuse or high-limit thermostat
- Signs: oven shuts off or won’t turn on at all.
- Approximate cost: $15–$80.
- Door latch or lock assembly
- Signs: stuck door, error during self-clean.
- Approximate cost: $25–$150.
Labor can add $100–$300 depending on complexity and location. If the repair cost nears the price of a replacement oven, consider replacement. Warranty coverage can offset repair costs—check your Maytag warranty.
When to DIY and when to call a pro
DIY is fine for simple checks and part swaps if you are comfortable and safe with tools. Call a pro in these situations:
- You smell gas or suspect a gas leak
- The issue is inside sealed control boards or gas valves
- You don’t have tools like a multimeter or you are unsure about wiring
- The oven is under warranty—unauthorized repairs can void it
From my experience, replacing a visible heating element or igniter is often straightforward. Replacing control boards or diagnosing intermittent power problems is tricky and best left to a technician.
Preventive maintenance to avoid an oven breakdown
Small habits extend oven life and reduce chances your Maytag oven stopped working.
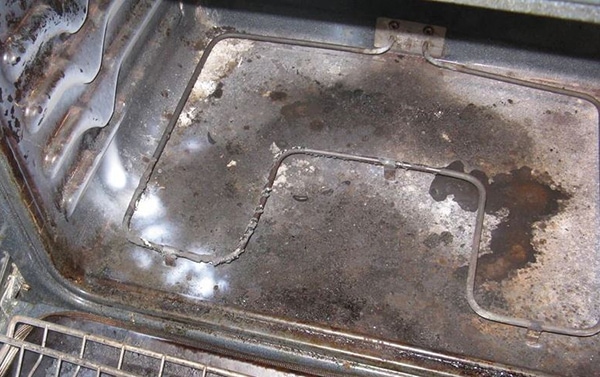
- Clean spills promptly
- Built-up grease can damage heating elements and sensors.
- Avoid overusing self-clean
- Self-clean cycles stress components and can trigger door latch issues.
- Inspect seals and gaskets
- Replace worn door seals to keep heat in and reduce stress on heating elements.
- Run regular checks
- Test bake and broil once a month and note odd noises or smells.
- Secure installation
- Ensure the oven is properly plugged and the outlet is in good condition.
A little care prevents many common failures and keeps the oven reliable for years.
Real-life troubleshooting examples and tips
Here are two short stories from real repairs I did that show how simple fixes often solve big problems.
- Example 1: No power but outlet OK
- A homeowner’s Maytag oven stopped working with a blank display. The breaker was fine. I found the power cord had a frayed connection at the terminal block. Replacing the cord fixed it. Lesson: check the cord and connections.
- Example 2: Oven won’t heat, gas model
- A gas oven did not heat. The igniter glowed weakly. Replacing the igniter restored normal ignition. Lesson: a slow-glowing igniter can mean it’s time to replace it even if it still glows.
These quick wins save money and restore cooking fast. When in doubt, document symptoms and error codes before calling help.
Frequently Asked Questions of Maytag oven stopped working
What should I check first when my Maytag oven stopped working?
Start with the circuit breaker, the power cord, and the outlet. If the display is blank, a power or control board issue is likely.
My oven shows an error code—can I fix it myself?
Some error codes map to simple fixes like resetting power or replacing a sensor. Other codes point to control board failures and need a technician.
Why does my Maytag electric oven not heat but the clock still works?
That often means the control board is powered but the heating element or relay is bad. Test the element for continuity with a multimeter.
Is it safe to keep using an oven that sometimes stops working?
Intermittent failures can be dangerous, especially with gas. Stop using it and troubleshoot or call a pro if you smell gas, see sparks, or get odd smells.
How long will a repair take for a Maytag oven stopped working?
Simple fixes like replacing an element or igniter take 30–90 minutes. Control board or gas-valve repairs may take 1–3 hours with part ordering.
Can I reset my Maytag oven to fix problems?
Yes, turning off power at the breaker for one minute then restoring it can clear some electronic glitches. If issues persist, further diagnosis is needed.
Conclusion
When a Maytag oven stopped working, start with simple checks: power, breaker, and a soft reset. Move on to element or igniter tests and inspect sensors, but stop and call a professional for gas, complex electronics, or if you lack tools. Small maintenance steps—cleaning spills, checking seals, and avoiding excessive self-clean cycles—cut repair chances dramatically. Take action now: run the quick checks listed here, note any error codes, and decide whether a DIY part swap or a technician call is the smarter next step. If this guide helped, subscribe for more appliance tips or leave a comment about your oven issue — I’ll respond with tailored steps.