Cuisinart Smart Stick Hand Blender Not Working: Fix Guide
Most Cuisinart Smart Stick hand blender issues come from power, assembly, or motor faults.
I’ve used and repaired small kitchen tools for years, so I know how frustrating it is when a trusted Cuisinart Smart Stick hand blender not working interrupts your cooking. This guide walks you through clear causes, step-by-step fixes, safety tips, and when to seek repair or replacement for a Cuisinart Smart Stick hand blender not working. Read on to get your blender back to work quickly and safely.

How the Cuisinart Smart Stick Works and Why It Stops Working
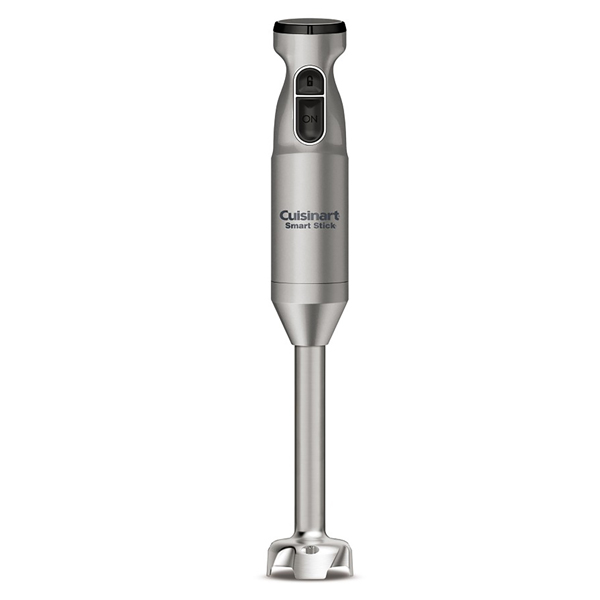
The Smart Stick uses a simple electric motor that spins a blade through a detachable shaft. If anything blocks the motor, power delivery, or the blade coupling, the blender can stop working. Common failure points include a faulty power cord, jammed blade assembly, worn motor brushes, and internal thermal cutouts.
I’ve taken apart a few hand blenders in my shop. Most problems are easy to spot and fix at home. Understanding the basic parts helps you diagnose a Cuisinart Smart Stick hand blender not working more quickly.
Common Causes of a Cuisinart Smart Stick Hand Blender Not Working
Below are the most frequent reasons this blender stops running. Each point is short and practical.
- Power supply issues: unplugged outlet, tripped breaker, or damaged cord.
- Improper assembly: the guard or shaft not locked in place.
- Jammed blades: food or fibrous bits trapped around the blade.
- Thermal overload: motor overheats and a thermal fuse or cutout trips.
- Worn motor parts: brushes or bearings degrade with age.
- Switch or control failure: internal switch contacts can fail.
- Water damage or corrosion: moisture can short internal parts.
I’ve seen owners assume the motor is dead when the real issue was a loose shaft or jammed blade. That mistake wastes money and time. Catch these simple fixes first when your Cuisinart Smart Stick hand blender not working.

Quick Troubleshooting: Run a Fast Check
Follow these quick checks before trying deeper fixes. Each step takes under five minutes.
- Ensure the blender is plugged into a working outlet and the outlet has power.
- Check the power cord for cuts, frays, or exposed wires.
- Make sure the blending shaft is fully locked into the motor housing.
- Inspect the blade guard and blade for stuck food or debris.
- Wait 15–20 minutes if the motor smells hot. The thermal cutout may need to reset.
These fast checks solve many cases of a Cuisinart Smart Stick hand blender not working. If the unit still won’t run, move to the deeper steps below.
Step-by-Step Repair and Troubleshooting Guide
Use this guide if quick checks didn’t help. Work on a clean counter and unplug the unit before you start.
- Visual and safety check
- Unplug the blender. Look for obvious damage on the cord and housing. Smell for burning.
- Blade and shaft inspection
- Remove the blending shaft. Clean around the blade. Rotate the blade by hand to check for free movement.
- Test the motor bare
- Reattach the shaft securely. Plug in and gently press the power switch for a second. Listen and feel for motor hum.
- Check for thermal reset
- If the motor was hot, let it cool 30–60 minutes. Try again. Thermal cutouts often reset automatically.
- Multimeter tests (for confident DIYers)
- Test continuity on the power cord and switch. Check motor windings for continuity. Replace parts if readings are open or shorted.
- Replace worn parts
- If brushes or coils are faulty, replace them only if you can access the parts using the model’s service guide.
I once fixed a Smart Stick that would not start with a clean blade and new switch contact. The fix was a $12 part and 20 minutes of work. A small repair like that beats buying new when your Cuisinart Smart Stick hand blender not working is a minor fault.

When to Stop and Seek Professional Repair or Replace
Not all problems are safe or cost-effective to fix at home. Consider professional service or replacement if:
- The motor emits smoke or a strong burnt smell.
- Internal wiring shows corrosion or signs of water ingress.
- The cost of parts and labor exceeds half the price of a new unit.
- You can’t safely open the housing without special tools.
If the warranty is active, contact the manufacturer first. For older units, weigh repair cost versus a fresh model. If you’re not comfortable using tools or a multimeter, professional repair is the safer choice when your Cuisinart Smart Stick hand blender not working involves internal electrical faults.
Maintenance Tips to Keep Your Smart Stick Running
Simple care prevents most failures. Make these habits routine.
- Clean the shaft and blade immediately after use to avoid buildup.
- Never immerse the motor housing in water. Wipe it with a damp cloth.
- Store the blender assembled to avoid losing parts.
- Avoid blending very hard items or ice without a sturdy model rated for it.
- Let the motor rest after long blending sessions to avoid thermal trips.
I follow these tips in my kitchen. My Cuisinart Smart Stick lasts longer and works more reliably. Regular care reduces chances of a Cuisinart Smart Stick hand blender not working.

Parts, Tools, and Costs to Expect
If you decide to repair, here are common parts and tools you may need.
- Parts
- Replacement blades or shaft assembly
- Motor brushes or switch assembly
- Power cord or plug kit
- Tools
- Small screwdriver set
- Needle-nose pliers
- Multimeter for electrical checks
- Typical cost range
- Small parts: $10–$30
- Replacement shaft or blade: $15–$40
- Professional repair: $40–$80 depending on labor and parts
Keep receipts if you order parts. Use model and serial numbers to match components. These details help you avoid buying incorrect parts for your Cuisinart Smart Stick hand blender not working.

Troubleshooting Checklist (Printable)
Use this checklist to diagnose issues quickly.
- Is the blender plugged in and the outlet live?
- Is the power cord in good condition?
- Is the shaft and blade free of debris?
- Is the shaft locked into the motor housing?
- Does the motor hum or show signs of power?
- Has the motor overheated recently?
- Are replacement parts available and affordable?
Check each box in order. It speeds up repairs and prevents repeated steps when diagnosing a Cuisinart Smart Stick hand blender not working.
Personal Tips and Mistakes to Avoid
Here are tips from my hands-on experience.
- Don’t force a stuck blade. Disassemble and clean first.
- Avoid blending hot liquids in a closed container.
- Don’t ignore small sparks or odd smells; they get worse quickly.
- Keep spare blades or a spare unit if you rely on the blender daily.
I once delayed fixing a small switch problem and later had to replace the motor. Don’t repeat that mistake when your Cuisinart Smart Stick hand blender not working shows early warning signs.
Frequently Asked Questions of Cuisinart Smart Stick Hand Blender Not Working
Why won’t my Cuisinart Smart Stick start even though it’s plugged in?
Check the outlet first and try another appliance in the same outlet. Then inspect the cord and make sure the shaft is fully locked into place.
How do I reset the thermal cutout if my Cuisinart Smart Stick stopped working?
Unplug the blender and let it cool for 30–60 minutes. Plug it back in and test; the thermal cutout usually resets on its own once the motor cools.
Can I replace the blade assembly myself on a Cuisinart Smart Stick?
Yes, many blade assemblies are user-replaceable with basic tools. Follow the model’s service instructions and use exact parts for a safe fit.
Is it safe to use a multimeter to test my Cuisinart Smart Stick motor?
Yes, if you know basic electrical safety. Always unplug the unit before opening it and avoid testing live circuits unless you are experienced.
When is it better to buy a new Cuisinart Smart Stick instead of repairing it?
Replace the unit when repair costs are high, motor windings are burnt, or water damage is extensive. If the unit is old and parts are scarce, replacement is often wiser.
Conclusion
Troubleshooting a Cuisinart Smart Stick hand blender not working is often straightforward. Start with simple checks like power, assembly, and a clean blade. Move to safe repairs only if you’re comfortable and have the right parts. If a fix looks complex or risky, seek professional help or consider replacing the unit. Try the tips here, act promptly on warning signs, and share your results or questions below. If this guide helped, subscribe or leave a comment so I can add more hands-on tips for small kitchen tools.