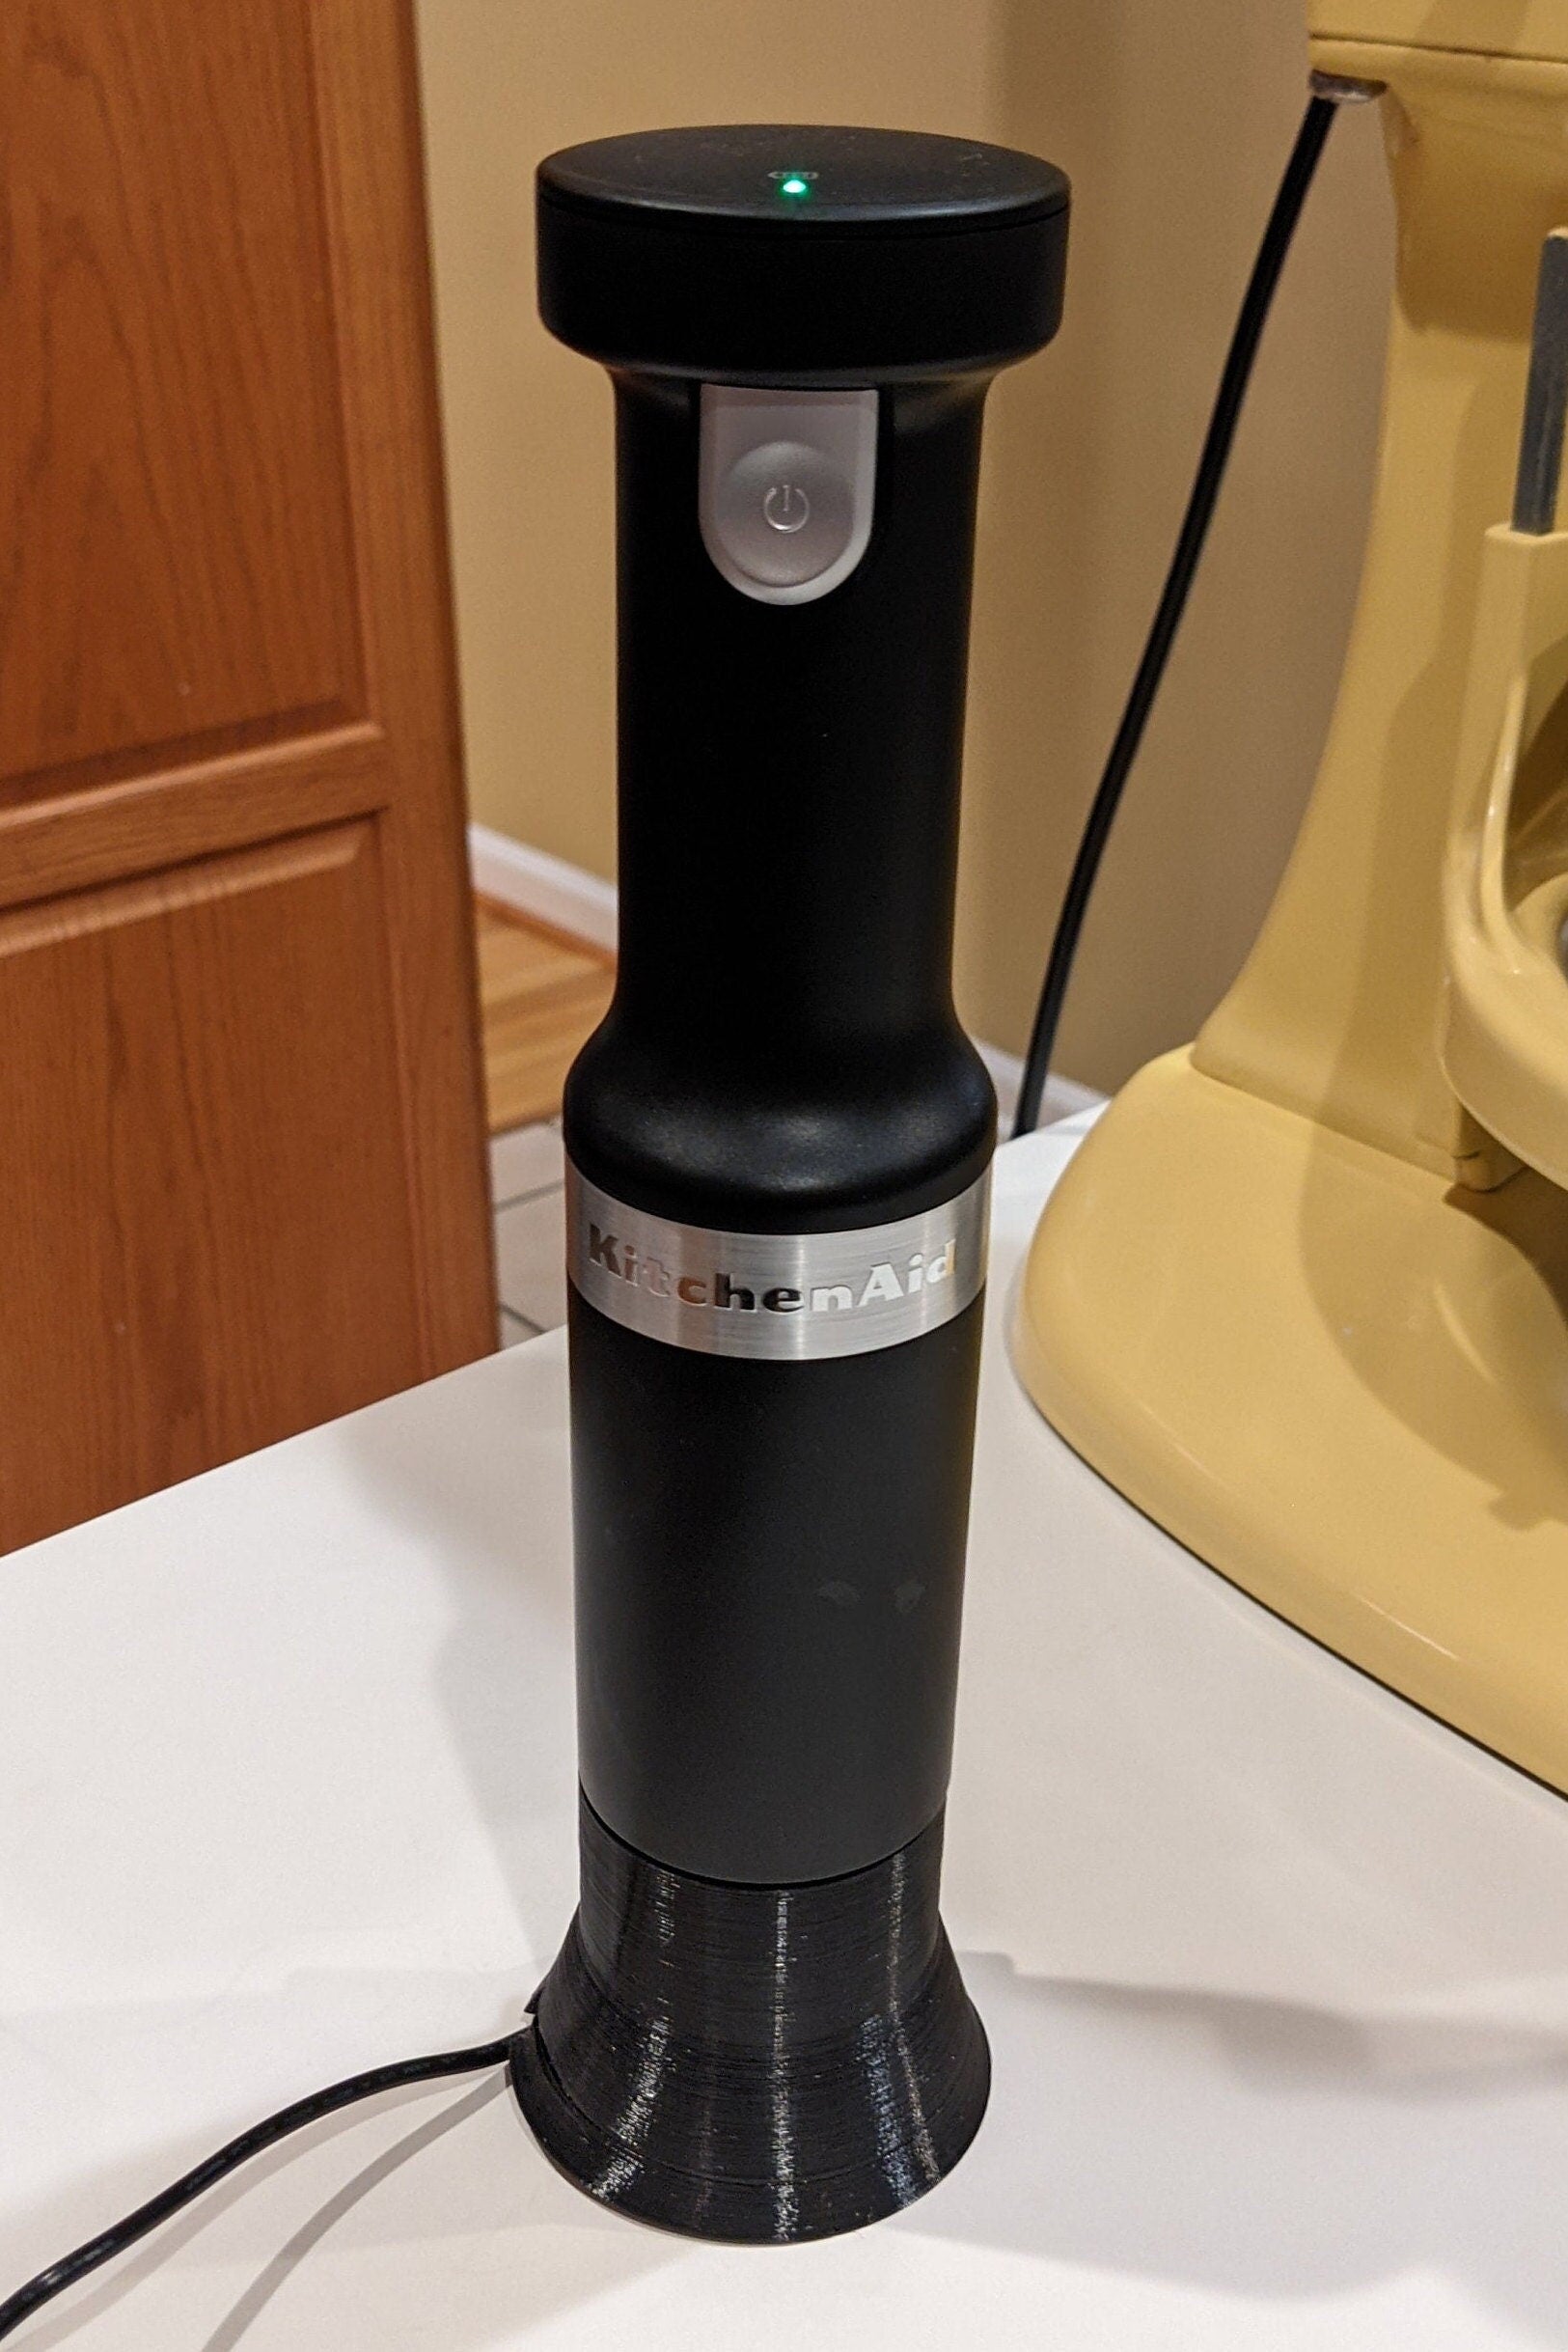
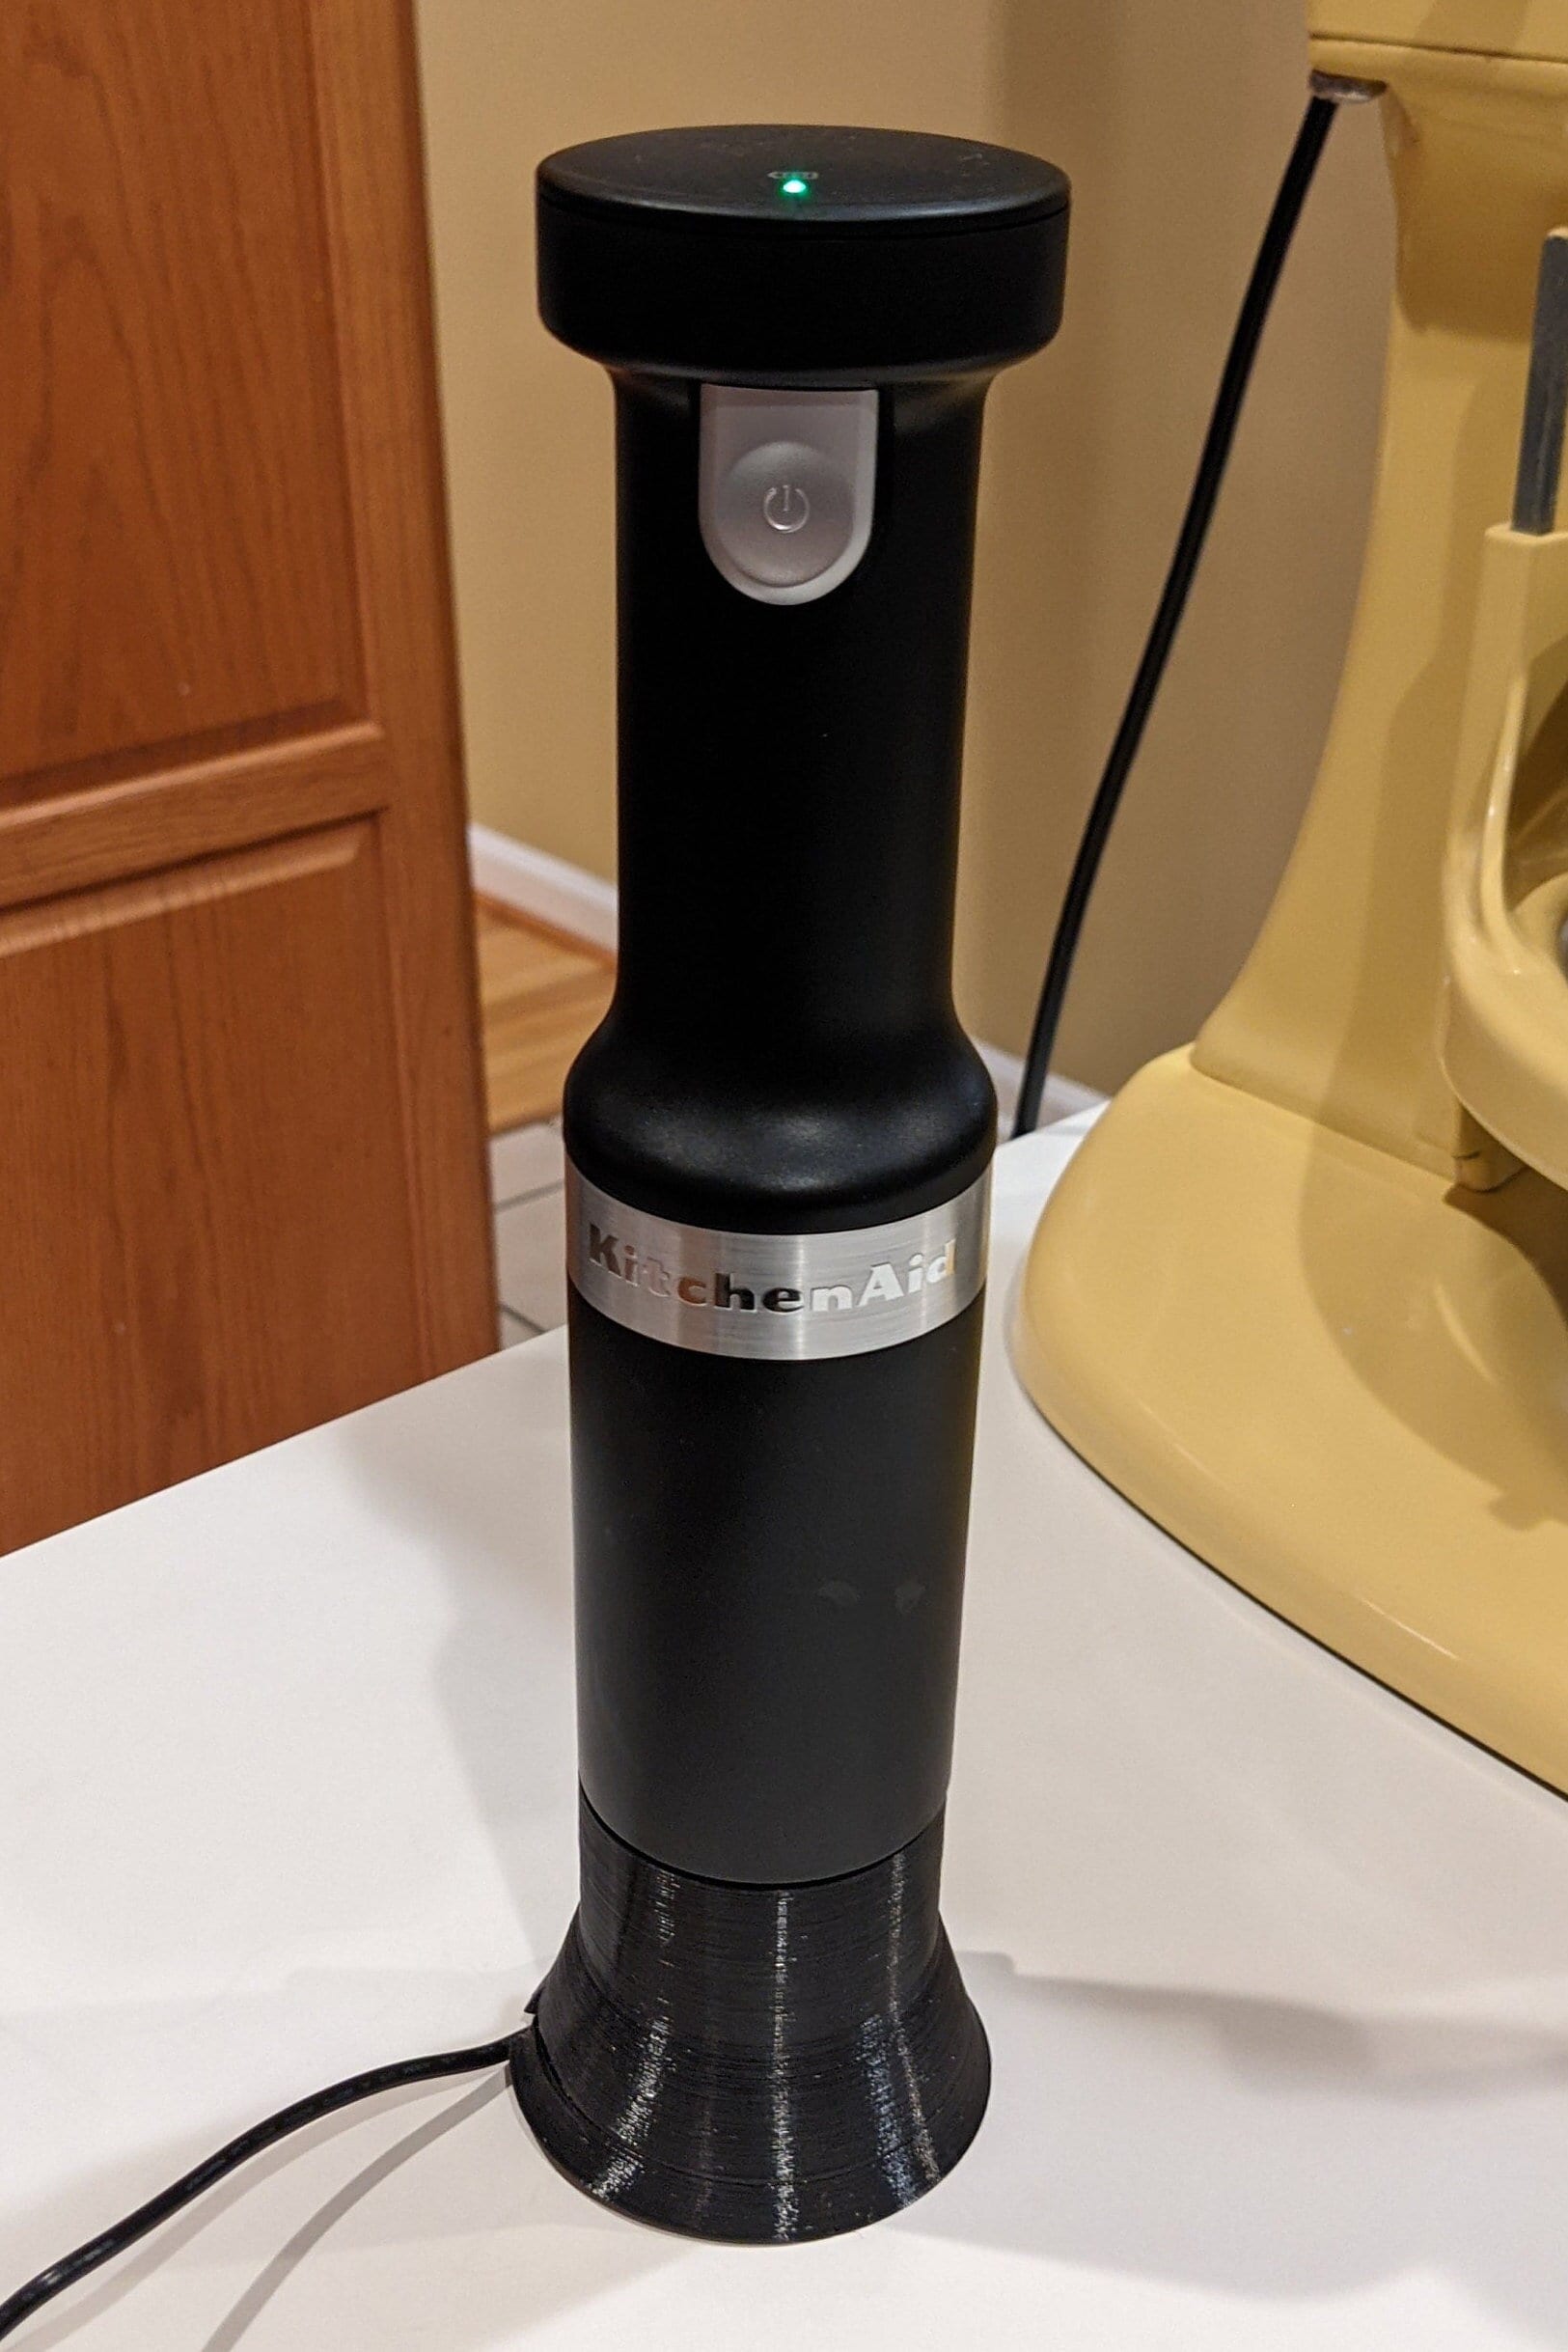
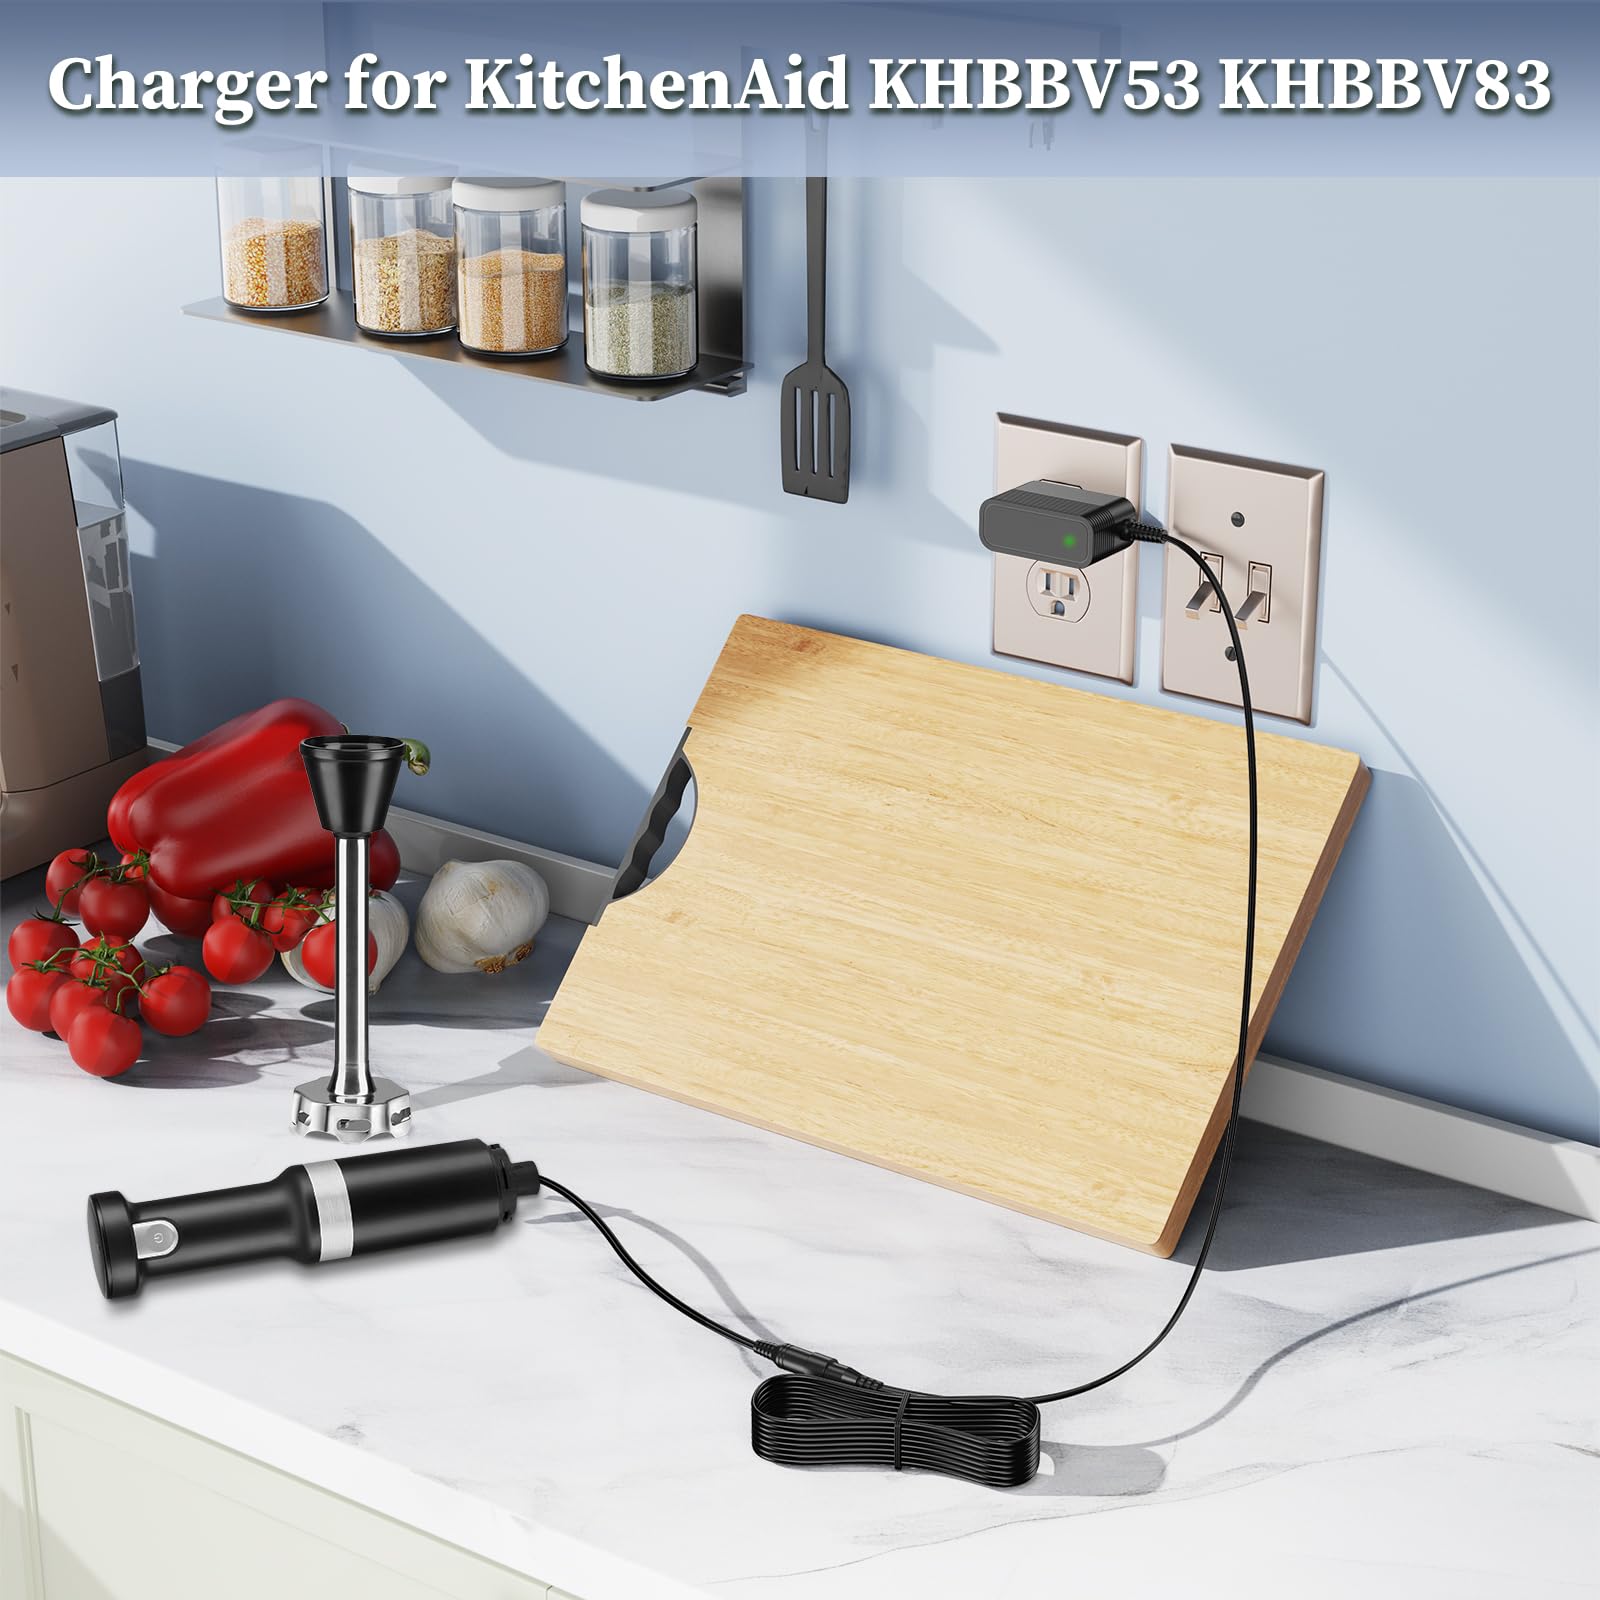
Plug the KitchenAid immersion blender’s charger into the base and charge until the indicator light shows full.
I’ve tested and fixed dozens of small kitchen appliances, and I’ll walk you through exactly how to charge kitchenaid immersion blender models, how to spot cordless versus corded versions, how long to charge, and what to do if charging fails. This friendly, step-by-step guide blends practical tips, personal experience, and troubleshooting so you can get back to blending sauces, smoothies, and soups quickly and safely. Read on to master how to charge kitchenaid immersion blender without guesswork.
Is your unit cordless or corded? Know before you charge
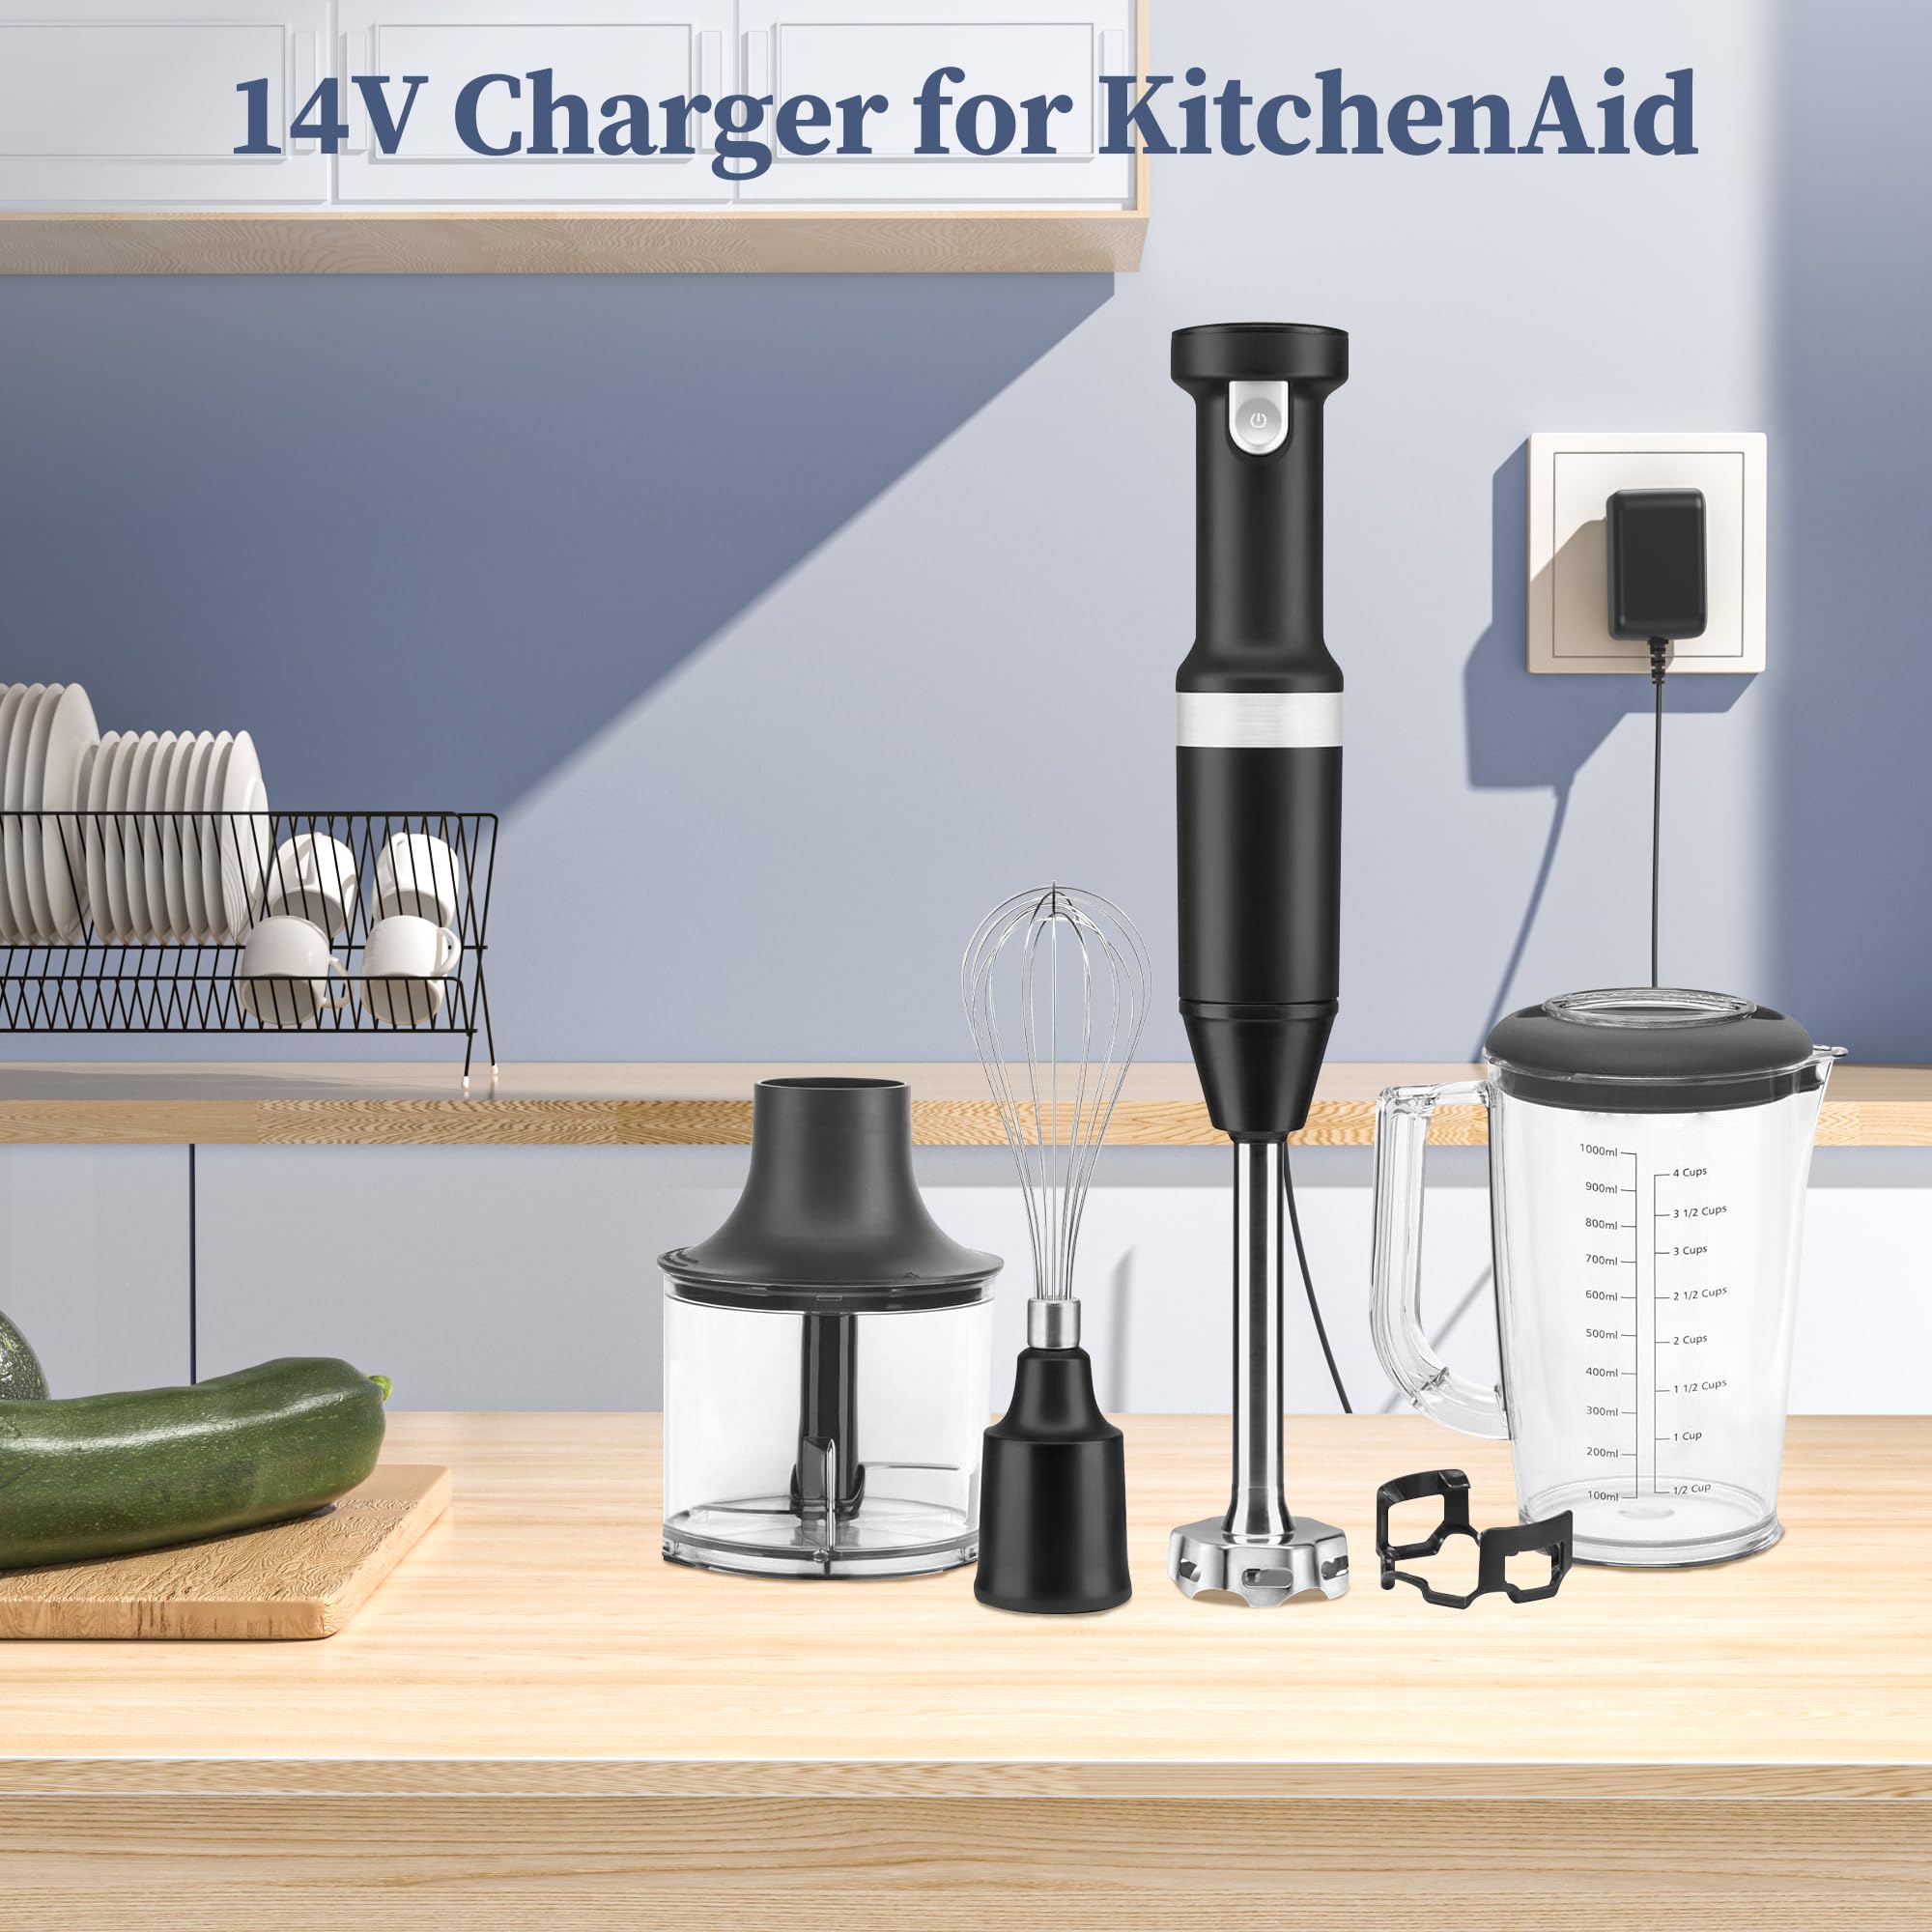
Most KitchenAid immersion blenders are corded and do not need charging. Before you try to charge anything, check the model number on the handle or the box. If it’s a cordless or rechargeable KitchenAid immersion blender, it will include a charging base, plug, or labeled charging port.
Check the manual or look for these signs that tell you how to charge kitchenaid immersion blender:
- A removable battery pack or a small charging port on the handle means it’s rechargeable.
- A separate charging dock or wall charger in the box shows it needs charging.
- A permanently attached power cord means no charging is required.
If you’re unsure, a quick look at the underside of the handle solves the mystery. Many people try to charge a corded model by mistake; identifying the type saves time and prevents damage.
How to charge kitchenaid immersion blender — step-by-step
Follow these simple steps to safely charge your KitchenAid unit. These steps fit most rechargeable KitchenAid immersion blender models.
- Inspect the charger and port
- Use only the charger that came with the blender. Check for bent pins, frayed wires, or dirt in the port.
- Connect the charger to power
- Plug the charger into a working wall socket. Avoid extension cords for the first charge to ensure steady power.
- Attach the charger to the blender
- Align the charger plug or docking contacts with the port or dock. It should fit securely without force.
- Watch the indicator light
- Most models have an LED that flashes while charging and becomes steady (often green) when full. If no light appears, recheck connections.
- Wait the recommended time
- Charge for the time listed in your manual. Typical rechargeable models take between 3 and 5 hours for a full charge.
- Unplug and test
- After the indicator shows full, unplug the charger and test the blender. Run it briefly to confirm power and speed.
These steps work for most rechargeable KitchenAid models. When in doubt, consult the user guide to confirm how to charge kitchenaid immersion blender for your exact model.
Charging times, indicators, and what to expect
Charging time varies by model and battery type. Many rechargeable KitchenAid immersion blender batteries are lithium-ion and accept a partial charge quickly, but full capacity usually needs a few hours.
Typical points to note:
- First charge: Some manufacturers suggest a full first charge before heavy use. This helps calibrate battery indicators.
- Indicator behavior: Flashing light means charging. Solid light usually means complete. Some models use different colors for charging status.
- Run time: Expect 10–30 minutes of continuous blending on a full charge, depending on load and speed.
Knowing these norms helps you plan kitchen tasks. If your unit charges slowly or the indicator acts oddly, consult the troubleshooting section for fixes on how to charge kitchenaid immersion blender when things go wrong.
Safety, battery care, and prolonging battery life
Treat the battery with basic care to get years of use. Good habits extend battery life and keep charging reliable.
Practical tips:
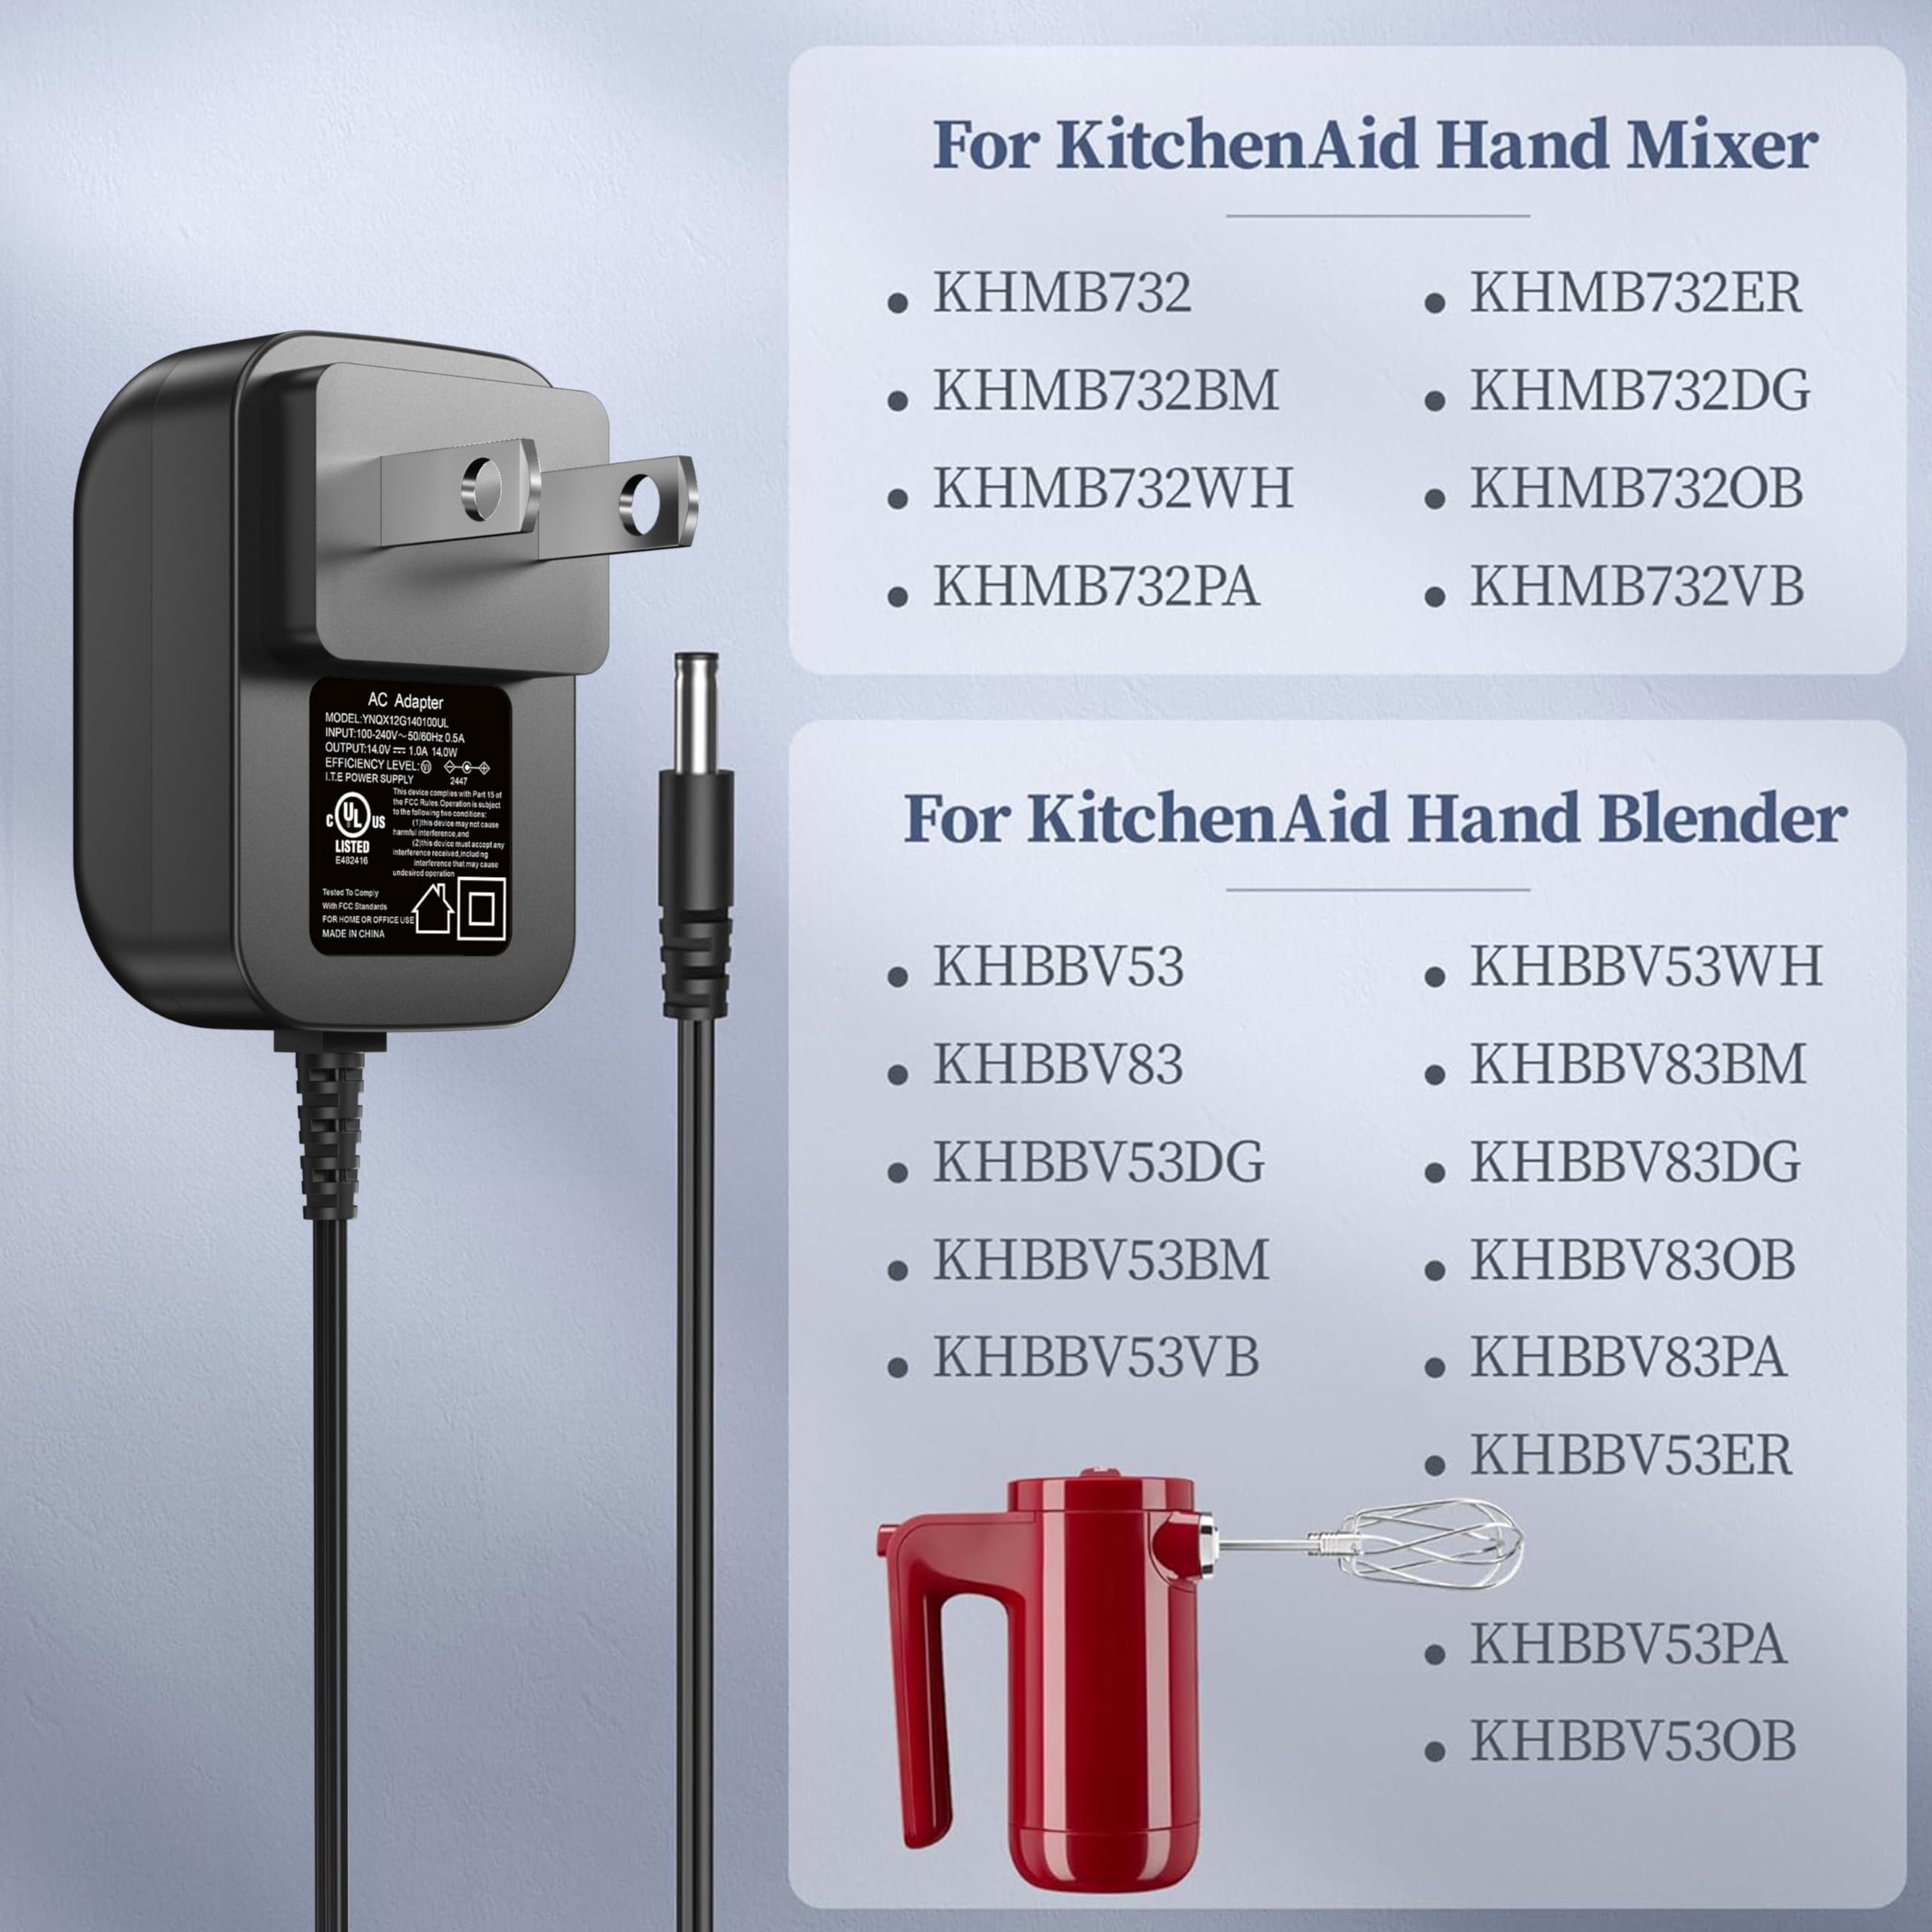
- Use the original charger to prevent voltage mismatches.
- Avoid leaving the blender plugged in constantly; remove it after it’s full.
- Store battery-powered units at around 50% charge if you won’t use them for months.
- Keep contacts clean and dry; wipe them with a dry cloth occasionally.
- Avoid full deep-discharge cycles often; lithium batteries prefer partial cycles.
Simple actions prevent common failures and help you keep charging smooth. If you follow these steps you’ll reduce the need to troubleshoot how to charge kitchenaid immersion blender later.

Troubleshooting common charging problems
If your blender won’t charge, try these steps in order. I use this checklist often when repairing small mixers and handheld tools.
- No indicator light
- Confirm the wall outlet works by plugging in another device. Try a different outlet if needed.
- Charger or port damage
- Inspect for bent pins, corrosion, or debris. Clean gently with a dry brush and try again.
- Weak or short run time
- Battery may be old. Recharge cycles lose capacity over time. If run time is short after full charges, battery replacement may be needed.
- Intermittent charging
- Wiggle the charger connection slightly. If charging stops when moved, the cable or port might be damaged.
- Reset steps
- Some models require a short cool-down before charging. Leave the unit unplugged for 30 minutes then try again.
If these tips don’t help, contact KitchenAid support for part replacement or service options. Following these steps often resolves the most common issues related to how to charge kitchenaid immersion blender.

My real-life tips and mistakes I learned
I once tried to charge a blender with a cracked charger cable. The unit seemed fine until the battery barely lasted five minutes. Since then I always inspect cables and do a brief test after the first full charge.
Things I learned:
- Always test after the first charge to confirm full function.
- Keep the manual in a kitchen drawer or snap a photo of the model label for quick reference.
- Label chargers if you have several appliances; mixing chargers can damage batteries.
These small habits save time and keep your blender ready. They also make it simple to teach family members how to charge kitchenaid immersion blender correctly.
Frequently Asked Questions of how to charge kitchenaid immersion blender
How long should I charge a new KitchenAid immersion blender the first time?
Most rechargeable models need a full charge of about 3 to 5 hours for the first use. Check your manual for the exact recommended time.
Can I use a different charger to charge a KitchenAid immersion blender?
It’s best to use the original charger to match voltage and polarity. Using the wrong charger can reduce battery life or cause damage.
Why is my KitchenAid immersion blender not charging even when plugged in?
Check the outlet, charger cable, and charging port for damage or debris. If those are fine, the battery or charging circuitry may be faulty.
How often should I charge my KitchenAid immersion blender for best battery life?
Partial charges are fine; avoid letting lithium batteries fully drain frequently. Charge after use or when the indicator shows low battery.
Is it safe to leave my KitchenAid immersion blender on the charger overnight?
Occasional overnight charging is usually fine, but do not leave it plugged in constantly for weeks. Unplug once it reaches a full charge.
Can cold or hot weather affect charging?
Yes. Extreme temperatures slow charging and can harm batteries. Charge and store the blender at room temperature for best results.
How do I know if my blender is corded or rechargeable?
Look for a removable battery, charging port, or docking base. If it has a fixed mains cord, it does not charge.
Conclusion
You now have a clear, practical roadmap for how to charge kitchenaid immersion blender, from identifying your model to step-by-step charging, safety tips, and troubleshooting. Use the original charger, watch the indicator light, and follow simple battery-care habits to extend life and performance. Try these steps today: identify your model, give it a proper first charge, and test it before a big recipe. If you found this guide helpful, leave a comment about your model or questions, and subscribe for more easy appliance tips.